Craft Your Style: A Beginner’s Guide to Making String Bracelets (DIY)
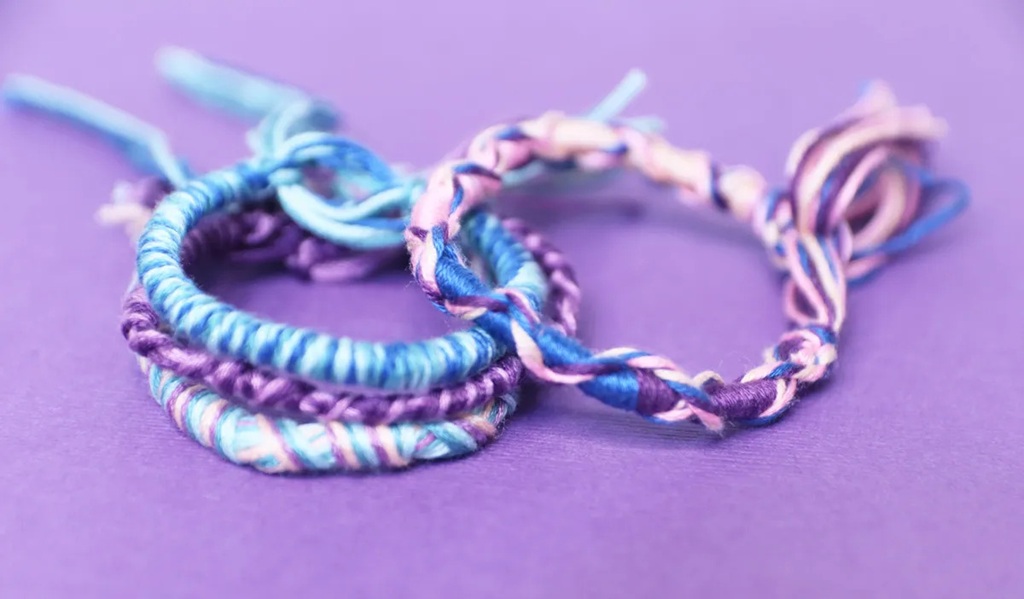
There’s a unique charm to handmade accessories, a personal touch that store-bought items often lack. String bracelets, often reminiscent of colourful friendship bands exchanged during summer camps and school days, hold a special place in the world of DIY crafts. They are wonderfully versatile, serving as symbols of connection, personal style statements, or simply fun, creative projects. The beauty of making your own string bracelets lies in its accessibility – it requires minimal materials, is relatively inexpensive, and offers endless possibilities for customization.
Whether you’re looking to revive a nostalgic craft, create meaningful gifts, or explore a relaxing hobby, learning how to make a bracelet with string is a rewarding endeavour. In recent times, trends lean towards personalized touches, minimalist designs using natural cords, and the ever-popular stacking look, all achievable with simple strings and knots. This guide will walk you through everything you need to know to start knotting your first beautiful string bracelet.
Gathering Your Creative Toolkit
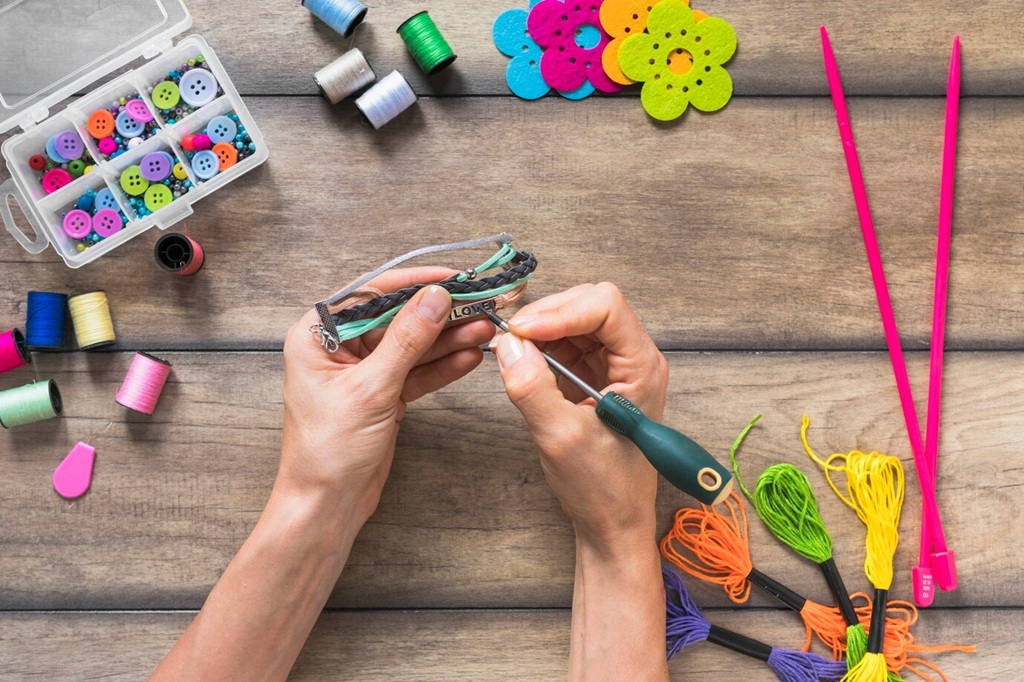
Before you dive into the rhythmic process of knotting, let’s gather the essentials. The good news is you don’t need a fancy setup or expensive tools. Most likely, you might already have some of these items at home.
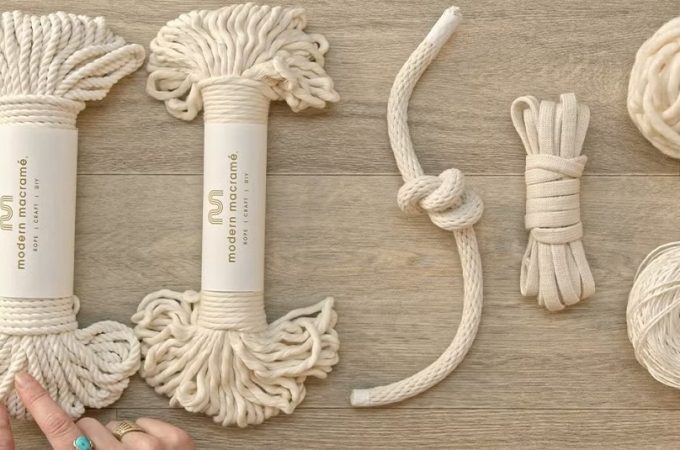
- String: This is your main medium! The most popular choice for traditional friendship bracelets is 6-strand cotton embroidery floss. It comes in a vast spectrum of colours, is affordable, easy to find, and splits easily if needed (though most patterns use all 6 strands). Other great options include:
- Waxed Cotton Cord: Offers a slightly sturdier feel and a more polished, often bohemian look. It’s durable and water-resistant, great for everyday wear.
- Hemp Cord: Provides a natural, earthy aesthetic. It’s strong and eco-friendly but can be a bit rougher on the hands.
- Craft Yarn (Thin): Some thin yarns, like specific ‘bonbon’ skeins, can work well, offering different textures.
- Nylon Cord (e.g., Chinese Knotting Cord): Smooth, durable, holds knots well, and often used for Shamballa-style bracelets or Kumihimo braiding. Often burnable to seal ends.
- Elastic Cord: If you prefer stretchy bracelets without clasps, elastic string (like Opelon or Stretch Magic) is the way to go, often used with beads.
- Scissors: A sharp pair of scissors is crucial for clean cuts. Fabric or embroidery scissors work best.
- Securing Method: You need something to hold your bracelet steady while you work. Common options include:
- Tape: Simply tape the starting knot or loop to a table or flat surface.
- Clipboard: Clip the starting knot under the clip. This is portable!
- Safety Pin: Pin the starting knot to your jeans (a classic method!) or a firm cushion.
- Measuring Tool: A ruler or measuring tape helps cut strings accurately and check bracelet length.
- (Optional) Beads & Charms: Want to add extra flair? Small beads with holes large enough for your string or charms can be incorporated into your designs.
When choosing your string, consider the desired look and feel. Embroidery floss offers vibrant detail, while waxed cotton provides durability. For your first project, embroidery floss is highly recommended due to its ease of use and colour variety.
The Foundation – Mastering Basic Knots
Friendship bracelets are essentially built from a series of simple knots repeated in specific patterns. Mastering the basic knots is the key to unlocking countless designs. Don’t be intimidated; they are easier than they look! The two fundamental knots you’ll need are the Forward Knot and the Backward Knot. Almost all patterns are variations or combinations of these.
Before you start knotting, ensure your initial knot or loop is securely fastened to your work surface. Spread your strings out in the order required by your pattern (we’ll cover this in the next section). Consistent tension is vital – don’t pull too tight or leave knots too loose. Aim for firm, even knots that sit snugly against each other.
The Forward Knot (Left-Over-Right):
This knot moves the working string from left to right.
- Take the leftmost string (let’s call it String A) and the string immediately to its right (String B).
- Cross String A over String B, forming a shape like the number ‘4’.
- Tuck the end of String A under String B and pull it up through the loop of the ‘4’.
- Hold String B taut (straight down) and slide the knot up towards the top of your bracelet until it’s snug. This is the first half of the knot.
- Repeat steps 2-4 with the same two strings (String A is still the working string, even though it’s now slightly to the right). Make another ‘4’ shape, loop under, and pull the knot up snugly against the first half.
- Result: You’ve completed one Forward Knot. String A has now moved one position to the right, and the knot created is the colour of String A. You always make two half-knots (hitches) to form one complete friendship bracelet knot.
The Backward Knot (Right-Over-Left):
This knot moves the working string from right to left. It’s essentially the mirror image of the Forward Knot.
- Take the rightmost string (String C) and the string immediately to its left (String D).
- Cross String C over String D, forming a shape like a backward ‘4’ or the letter ‘P’.
- Tuck the end of String C under String D and pull it up through the loop of the ‘P’.
- Hold String D taut and slide the knot up snugly. This is the first half.
- Repeat steps 2-4 with the same two strings (String C is still the working string). Make another ‘P’ shape, loop under, and pull the second half of the knot up snugly.
- Result: You’ve completed one Backward Knot. String C has moved one position to the left, and the knot is the colour of String C.
Practice these two knots until they feel comfortable. You’ll also encounter Forward-Backward and Backward-Forward knots in more complex patterns, which cleverly combine these basic hitches to keep a string in place or change its direction mid-row.
Your First Masterpiece: The Candy Stripe Bracelet
Ready to make your first bracelet? The Candy Stripe (also called Diagonal Stripe) is the perfect beginner pattern. It uses only the Forward Knot and creates cheerful diagonal lines of colour.
- Choose Colours & Cut Strings: Select 3 to 6 colours of embroidery floss. The more strings, the wider the bracelet. For a comfortable starting point, try 4 colours. Now, cut one piece of each colour. How long? A good rule of thumb for beginners is to measure from your fingertips to your shoulder – this is typically around 30-35 inches (75-90 cm). It’s always better to cut too long than too short! You can trim the excess later.
- Set Up: Gather all your cut strings together. Align the ends and tie a simple overhand knot about 2-3 inches from one end. This tail will be used for tying the bracelet later. Secure this knotted end firmly to your chosen work surface (tape, clipboard, or pin).
- Arrange Colours: Lay the strings out flat, side-by-side, in the order you want the stripes to appear. Let’s say your order from left to right is Red, Orange, Yellow, Green.
- The Knotting Process:
- Take the leftmost string (Red). Using the Forward Knot, make a complete knot (remember, two half-knots!) onto the string next to it (Orange). The Red string has now moved one position to the right.
- Continue using the same Red string. Make a Forward Knot onto the next string (Yellow).
- Keep going with the Red string. Make a Forward Knot onto the last string (Green). The Red string is now the rightmost string. You’ve completed one diagonal row!
- Now, start again with the new leftmost string (which is now Orange). Repeat the process: Make Forward Knots with the Orange string onto Yellow, then Green, then Red. The Orange string will end up on the far right.
- Continue this pattern. Always take the leftmost string and make Forward Knots onto every other string to its right, working your way across. Each colour will take its turn creating a diagonal stripe.
- Finishing Touches: Keep knotting until the bracelet is long enough to wrap comfortably around your wrist. Leave about 2-3 inches of loose string at the end. To finish, gather all the strings together and tie another simple overhand knot close to your last row of knots. Trim the excess string, leaving enough length to tie the bracelet on. You can also divide the end strings into groups and braid them before knotting for a more decorative finish.
Congratulations! You’ve just made your first string bracelet!
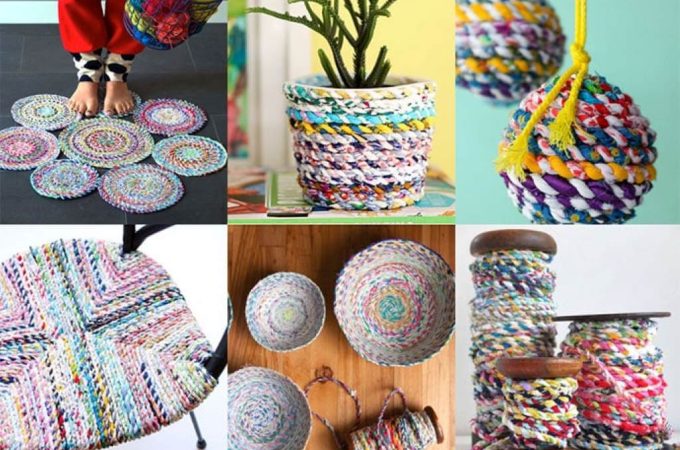
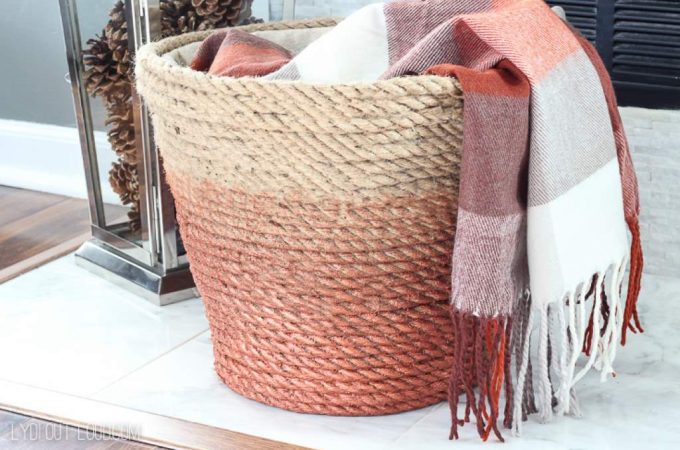
Related: Weaving Wonder: A Comprehensive Guide to DIY Plant Hanger Rope
Stepping Up Your Game: Exploring Patterns & Techniques
Once you’ve mastered the Candy Stripe, a whole world of patterns opens up! The skills you’ve learned – Forward and Backward knots and consistent tension – are the building blocks for more intricate designs.
- The Chevron: This classic V-shape pattern is often the next step for beginners. It introduces the Backward Knot and symmetrical arrangement. You’ll typically use an even number of strings, arranging them so the colours mirror each other from the centre outwards (e.g., Red-Orange-Yellow-Yellow-Orange-Red). You’ll use Forward knots on the left half, working towards the middle, and Backward knots on the right half, also working towards the middle. The two centre strings (which started as the outermost strings) are then knotted together to form the point of the ‘V’.
- Beyond Chevron: Explore patterns like diamonds, hearts, zig-zags, or even letters and names (often called ‘alpha’ patterns, which use a slightly different technique). Many fantastic resources are available online, including websites like BraceletBook or Pinterest, which host thousands of free patterns searchable by difficulty, style, and number of strings.
- Adding Beads: Incorporating beads adds texture and visual interest. You can string beads onto individual strands before making knots with that strand, or slide beads onto the ‘base’ strings that another string is knotting over. Ensure the bead holes are large enough for your chosen string. Small seed beads work well with embroidery floss.
Don’t be afraid to experiment. Try different colour combinations within known patterns, or even mix string types for unique textures. The joy is in the making and seeing your creation come to life.
Pro Tips for Polished String Bracelets
Want to elevate your string bracelets from beginner to brilliant? Keep these tips in mind:
- Neatness Counts: Ensure your knots are consistent in size and tension. Push each knot up snugly against the previous row before tightening fully. Avoid gaps between knots.
- Colour Play: Think about colour theory! Try complementary colours for bold contrast, analogous colours for harmony, or ombre effects by choosing shades of the same colour. Variegated floss (which changes colour along its length) can create interesting random patterns.
- Finishing Flair: While simple knots work, explore other closures. Braided ties look neat. Starting with a loop and finishing with braids allows for an easy tie-on closure. For adjustable bracelets, learn to tie a sliding macrame square knot closure using an extra piece of cord over the two tail ends.
- Start Clean, End Clean: Trim starting and ending tails neatly after securing knots. For synthetic cords like nylon, carefully melting the ends with a lighter (adult supervision required!) can prevent fraying.
- Practice & Patience: Your first few bracelets might not be perfect, and that’s okay! Knotting becomes more intuitive and faster with practice. Enjoy the process. If you make a mistake, carefully unpick the knots with a pin or needle rather than pulling tight.
Related: Unleash Your Inner Maker: A Comprehensive Guide to DIY Nerds Rope
People Also Ask (FAQs)
Q1: How long should I cut my string for a bracelet?
A: This varies! A common starting point for average wrists and basic patterns (like Candy Stripe or Chevron with 4-8 strings) is 30-35 inches (approx. 75-90 cm) per string. Some measure from fingertip to shoulder. For more complex patterns, patterns with more strings (>10-12), or if making a loop start (where you fold strings in half), you’ll need longer strings – often 40-48 inches (100-120 cm) or even more (wingspan length). Rule of thumb: It’s always better to cut strings longer than you think you need; you can trim excess, but adding length is tricky.
Q2: What’s the best string for friendship bracelets?
A: 6-strand cotton embroidery floss is the most popular and versatile choice, especially for beginners, due to its huge colour range and ease of use. Waxed cotton cord is great for a more durable, slightly chunkier, boho look. Hemp cord offers a natural, rustic feel. Choose based on the desired look and feel.
Q3: How do you finish a string bracelet so it stays tied?
A: Several methods work:
- Simple Knots: Tie a tight overhand knot at each end. Tie the two knotted ends together on the wrist.
- Braided Ends: Braid the loose strings at each end and secure the braids with knots. Tie the two braids together.
- Loop & Braid: Start with a loop. Finish with one or two braids. Feed the braid(s) through the loop and tie.
- Sliding Knot: Create an adjustable closure by tying macrame square knots with a separate piece of string around the overlapped tail ends.
Q4: Can beginners make complex patterns like hearts or letters?
A: It’s best to start with simpler patterns like the Candy Stripe or Chevron to master the basic knots (Forward and Backward) and get a feel for tension. Once comfortable, you can definitely progress to more complex patterns. Heart or diamond patterns often involve Forward-Backward and Backward-Forward knots. Letter/Alpha patterns use a different structure (usually knotting onto base strings). There are many tutorials available online for specific patterns, often rated by difficulty. Patience and practice are key!
Conclusion
Making string bracelets is more than just a craft; it’s a form of self-expression, a mindful activity, and a way to create tangible tokens of friendship and style. From choosing your colours and mastering the basic knots to exploring intricate patterns and adding personal touches like beads, the journey is as rewarding as the finished product. Armed with just a few simple supplies and a bit of patience, you can create beautiful, unique accessories for yourself or to share with others. It’s an affordable, portable, and endlessly creative hobby suitable for all ages. So why not pick up some colourful string, find a comfortable spot, and start knotting? You might just surprise yourself with what your hands can create. Happy crafting!