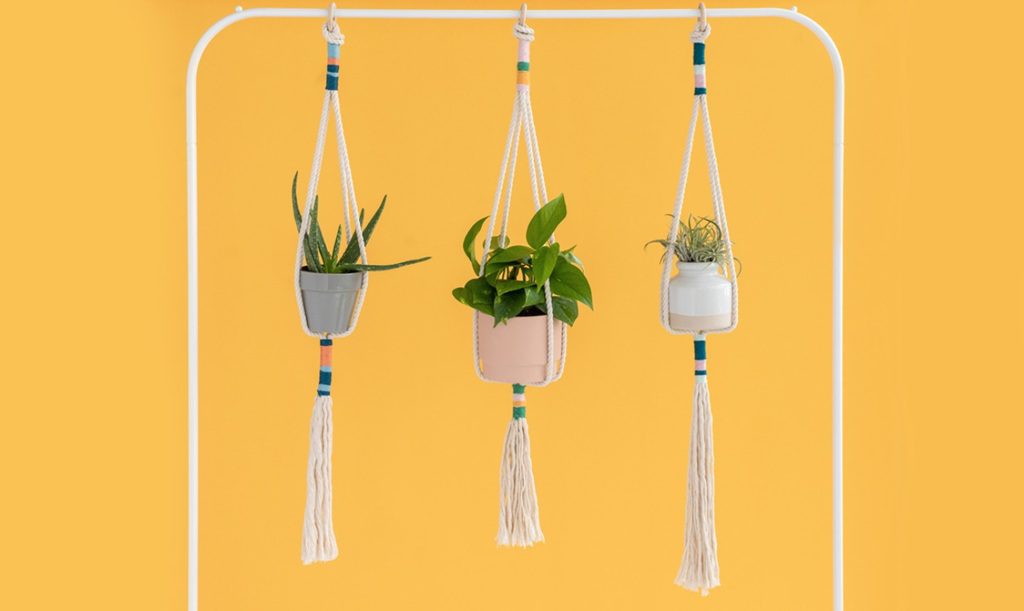
Elevate Your Greens: A Comprehensive Guide to DIY Hanging Plant Rope
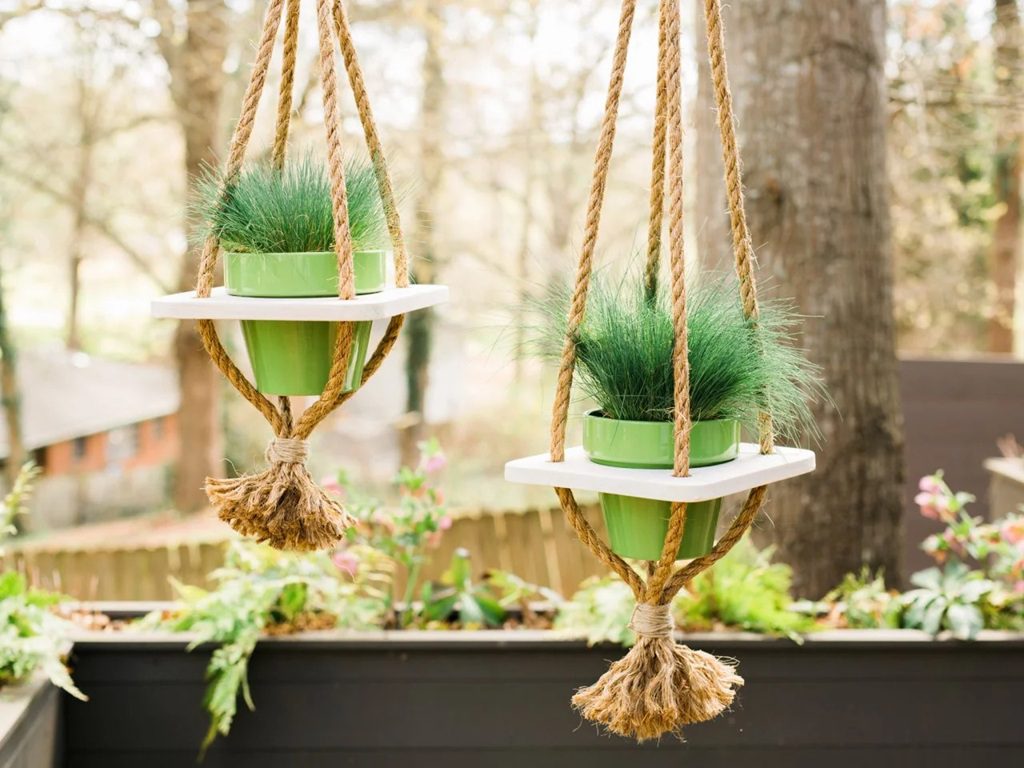
Bringing the outdoors in has never been more popular, and hanging plants are a fantastic way to add a touch of nature and vibrancy to your home. But why settle for generic store-bought hangers when you can create unique, personalized pieces with a simple DIY rope project? This comprehensive guide will walk you through everything you need to know about creating your DIY hanging plant rope, from choosing the right materials to mastering different knotting techniques. Plus, we’ll delve into real user reviews and answer frequently asked questions to ensure your DIY project is a resounding success.
Contents at a Glance
ToggleWhy DIY? The Benefits of Crafting Your Own Hanging Plant Rope
Before we dive into the how-to, let’s explore the ‘why’ behind making your own hanging plant rope.
- Uniqueness: Mass-produced plant hangers often lack character. DIY allows you to customize every aspect, from the type of rope to the color and knotting style, resulting in a truly unique piece that reflects your personal taste.
- Sustainability: By repurposing old rope or choosing natural, eco-friendly materials, you contribute to a greener planet.
- Cost-effectiveness: Creating your own hanging rope can be significantly cheaper than buying ready-made options, especially if you already have some materials at home.
- Therapeutic Value: Engaging in crafts like macrame or knotting can be incredibly relaxing and meditative, offering a welcome break from the daily grind.
- Perfect Fit: DIY allows you to create hangers perfectly sized for your specific pots and plants, ensuring a secure and aesthetically pleasing display.
Gathering Your Supplies: What You’ll Need
Ready to embark on your DIY journey? Here’s a list of essential materials:
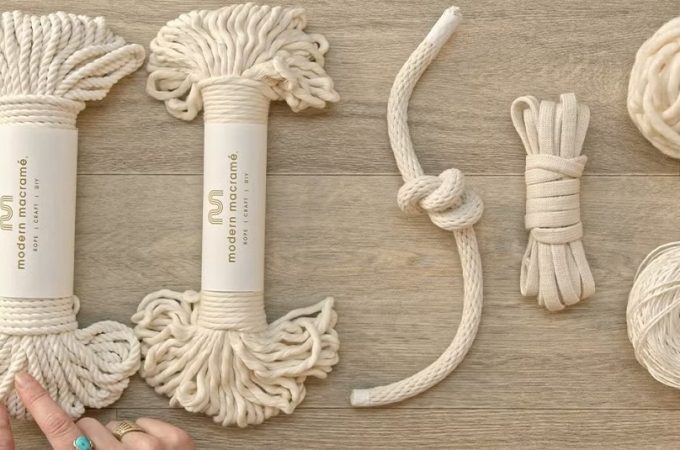
- Rope: The heart of your project! Choose from a variety of materials like cotton, jute, macrame cord, or even recycled clothesline. Consider the weight of your plant and pot when selecting the rope’s thickness and strength.
- Plant Pot: Ensure your pot has drainage holes to prevent overwatering.
- Scissors: Sharp scissors are crucial for clean cuts and preventing fraying.
- Measuring Tape: Accurate measurements are key to achieving the desired length and symmetry.
- Optional Extras:
- Wooden Beads or Rings: Add a decorative touch to your hanger.
- Metal Hooks: For hanging your creation from the ceiling or wall.
- S-Hooks: Useful for connecting different parts of your hanger.
Choosing the Right Rope: A Material Guide
The type of rope you choose significantly impacts the aesthetic and functionality of your hanging plant rope.
Here’s a breakdown of popular options:
- Cotton Rope: Soft, versatile, and available in a wide array of colors. Ideal for lightweight plants and indoor use.
- Jute Rope: A natural fiber with a rustic, earthy appearance. Strong and durable, making it suitable for heavier plants.
- Macrame Cord: Specifically designed for knotting, macrame cord comes in various thicknesses and colors, offering endless creative possibilities.
- Synthetic Rope: Materials like nylon or polyester are weather-resistant and durable, perfect for outdoor hanging plants.
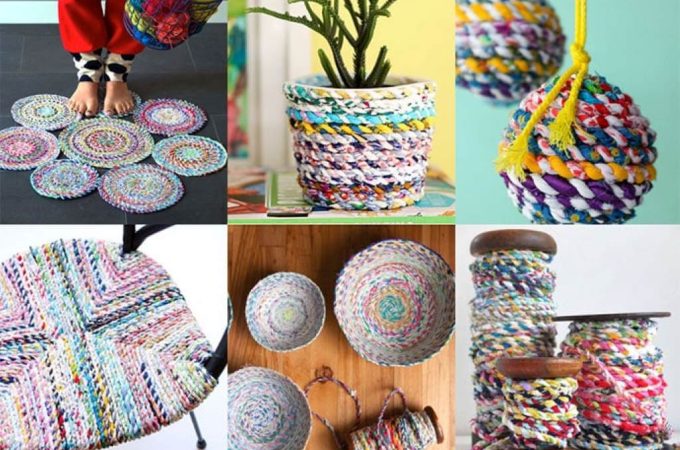
- Recycled Rope: Give old clothesline or rope a new life by incorporating it into your project. This sustainable option adds a unique charm.
Knotting Know-How: Basic Techniques to Master
While countless intricate knots exist, mastering a few basic techniques will set you up for success.
- Square Knot: A fundamental macrame knot used to create a variety of patterns.
- Spiral Knot: This creates a beautiful twisted effect, perfect for adding texture to your hanger.
- Overhand Knot: A simple knot used to secure the ends of your rope or create loops.
- Gathering Knot: Essential for bringing multiple strands together at the base of the hanger.
Numerous online resources and tutorials offer step-by-step instructions for these knots and more advanced techniques. Don’t be afraid to experiment and develop your own style!
Creating Your Masterpiece: Step-by-Step Instructions
Now that you have your materials and basic knotting knowledge, let’s create a simple yet stylish hanging plant rope.
- Measure and Cut: Determine the desired length of your hanger. Remember to account for the height of your plant and pot, as well as the length of the hanging loop. Cut four equal lengths of rope.
- Create the Base: Fold the ropes in half and tie an overhand knot near the fold to create a loop for hanging.
- Divide and Conquer: Divide the eight strands into four pairs.
- Knotting Time: Starting a few inches below the loop, tie a square knot with each pair of strands.
- Repeat and Space: Continue tying square knots at regular intervals down the length of the rope, leaving enough space at the bottom to cradle your plant pot.
- Gather and Secure: Use a gathering knot to bring all the strands together at the base, forming a secure cradle for your pot.
- Finishing Touches: Trim any excess rope and add decorative beads or rings if desired.
Beyond the Basics: Exploring Different Styles
Once you’ve mastered the basic hanging plant rope, explore different knotting patterns and designs to create unique pieces.
- Spiral Hangers: Use spiral knots to create a cascading, textured effect.
- Macrame Masterpieces: Dive deeper into macrame techniques to create intricate patterns and designs.
- Beaded Beauties: Incorporate wooden beads or colorful yarn for a bohemian vibe.
- Multi-Tiered Hangers: Create a hanging garden by incorporating multiple tiers into your design.
Real User Reviews: What People Are Saying
“I was intimidated at first, but this DIY project was surprisingly easy! I love that I could customize the length and style to perfectly fit my plant.” – Sarah M.
“Making my own hanging plant rope was a fun and rewarding experience. It’s so much more unique than anything I could find in stores.” – David L.
“The instructions were clear and easy to follow. I’m already planning my next project!” – Emily S.
Related: Elevate Your Garden: A Comprehensive Guide to DIY Hanging Basket Rope
FAQ: Diy Hanging Plant Rope
Q: What type of rope is best for beginners?
A: Cotton rope is a great option for beginners due to its softness and ease of use.
Q: How do I determine the right length for my hanging rope?
A: Consider the height of your ceiling, the size of your plant, and the desired hanging height. Measure the distance from the ceiling hook to where you want the base of the pot to sit, and add extra length for the knots and hanging loop.
Q: Can I use any type of plant pot with a hanging rope?
A: Yes, but ensure your pot has drainage holes to prevent overwatering.
Q: How do I care for my hanging plant rope?
A: Most ropes can be hand-washed or machine-washed on a gentle cycle. Allow the rope to air dry completely before re-hanging your plant.
Q: Where can I find inspiration and tutorials for different knotting techniques?
A: Online platforms like YouTube and Pinterest offer a wealth of tutorials and inspiration for macrame and knotting projects.
Related: DIY Baseball on a Rope: A Home Run of Fun for All Ages
Q: Can I use this technique for outdoor plants?
A: Absolutely! Just ensure you choose a weather-resistant rope like nylon or polyester.
Troubleshooting Tips
- Uneven knots: Ensure you’re using consistent tension when tying your knots. Practice makes perfect!
- Fraying rope: Use sharp scissors for clean cuts and consider sealing the ends with a flame (if applicable) to prevent fraying.
- Slipping pot: If your pot slips through the hanger, try adding a layer of non-slip material, like a rubber band or silicone grip, to the inside of the cradle.
Conclusion: Unleash Your Creativity
Creating your own hanging plant rope is a rewarding and enjoyable project that allows you to personalize your space with unique, handcrafted pieces. With a little practice and patience, you can master basic knotting techniques and explore a world of creative possibilities. So gather your materials, unleash your inner artist, and elevate your plants (literally!) with stylish, DIY hanging ropes.

