Spin a Yarn: Your Guide to DIY Rope Bowls
Rope bowls are having a moment. These versatile, textured home décor pieces add a touch of rustic charm while offering practical storage solutions. But the best part? They’re surprisingly easy to make yourself! Whether you’re a seasoned crafter or a curious beginner, this comprehensive guide will equip you with everything you need to know to create your own stunning DIY rope bowls.
Contents at a Glance
ToggleGathering Your Supplies: A Crafter’s Toolkit
Before we dive into the creative process, let’s gather our essential tools and materials. Fear not, you won’t need anything overly specialized!
Here’s a checklist:
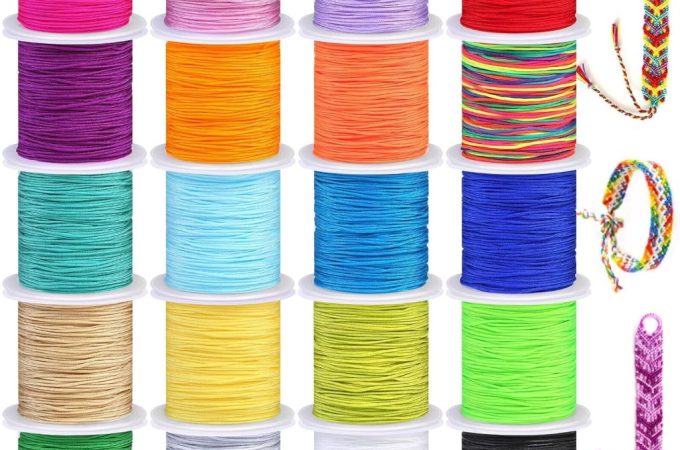
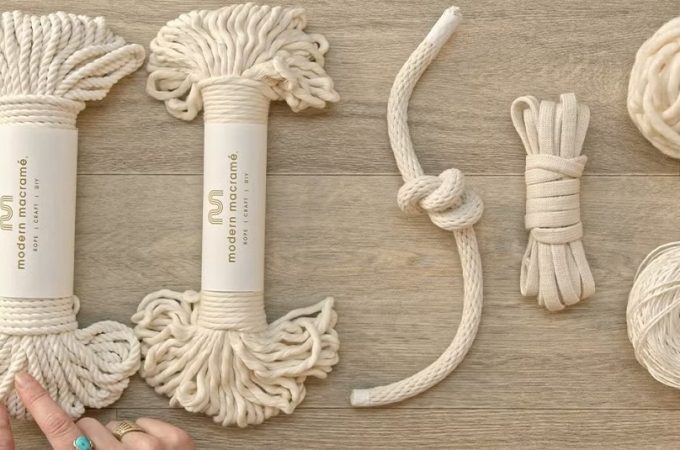
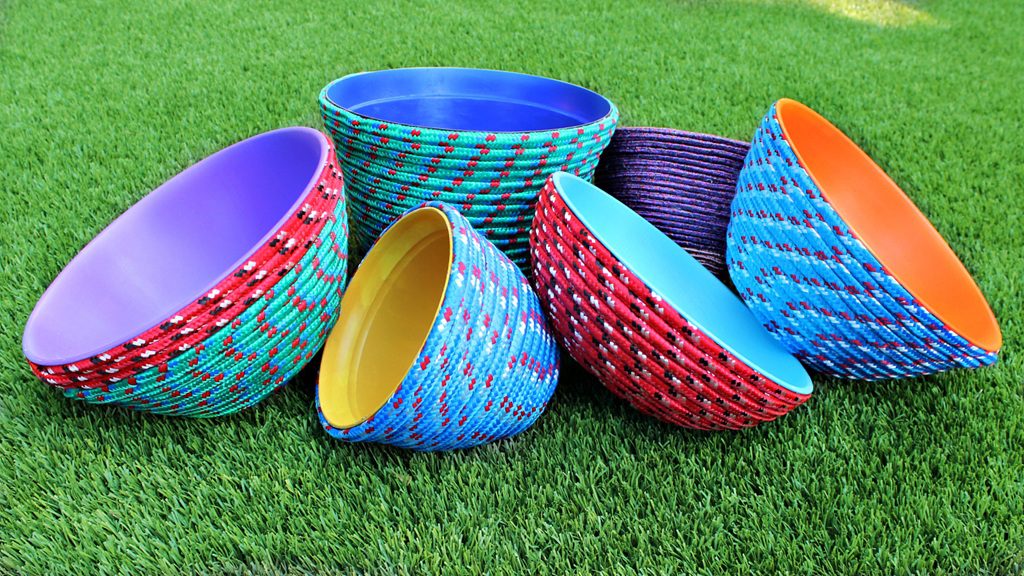
- Rope: The star of the show! Choose a rope that speaks to your style. Natural fibers like cotton, jute, or sisal offer an earthy aesthetic, while synthetic ropes provide durability and a wider range of colors. Consider the thickness and stiffness of the rope, as these will affect the final look and feel of your bowl.
- Hot Glue Gun and Glue Sticks: This is our magic wand for binding the rope together. A high-temperature glue gun will ensure a strong and lasting hold.
- Scissors: A sharp pair of scissors will make clean cuts and prevent fraying.
- Optional Extras:
- Sewing Pins: These can be helpful for holding the rope in place as you glue.
- Gloves: Protect your hands from hot glue mishaps.
- Paint or Stain: Add a pop of color or enhance the natural beauty of the rope.
- Sealing Spray: For added protection and durability, especially if your bowl will be exposed to moisture.
Crafting Your Masterpiece: A Step-by-Step Guide
Now that we have our arsenal ready, let’s embark on the creative journey.
Follow these simple steps to transform a humble coil of rope into a beautiful bowl:
- Prepare Your Rope: If your rope is coiled, unwind it and lay it flat to remove any kinks or bends. This will make it easier to work with and ensure a smoother finished product.
- Start Coiling: Apply a generous amount of hot glue to the end of the rope. Begin coiling the rope tightly, pressing each round firmly against the previous one. Use sewing pins to hold the rope in place if needed, especially in the initial stages.
- Build the Base: Continue coiling the rope in a spiral, gradually increasing the diameter to form the base of your bowl. Ensure each layer is securely glued to the one beneath it.
- Shape the Walls: Once you’re happy with the size of the base, start angling the rope upwards to create the walls of the bowl. Maintain a consistent angle and continue coiling, adding glue as you go. Don’t be afraid to experiment with different angles to achieve your desired shape.
- Finishing Touches: When your bowl reaches the desired height, trim the rope end and secure it with a final dab of glue. Inspect your bowl for any loose ends or gaps, and reinforce them with additional glue if needed.
- Personalize Your Creation (Optional): Let your creativity shine! Paint your bowl in vibrant hues, stain it for a rustic look, or embellish it with decorative elements. A coat of sealing spray will add a protective layer and enhance the longevity of your masterpiece.
DIY Rope Bowl: Variations on a Theme
The beauty of DIY lies in its endless possibilities for customization. Once you’ve mastered the basic technique, feel free to experiment and add your own unique flair.
Here are a few inspiring ideas:
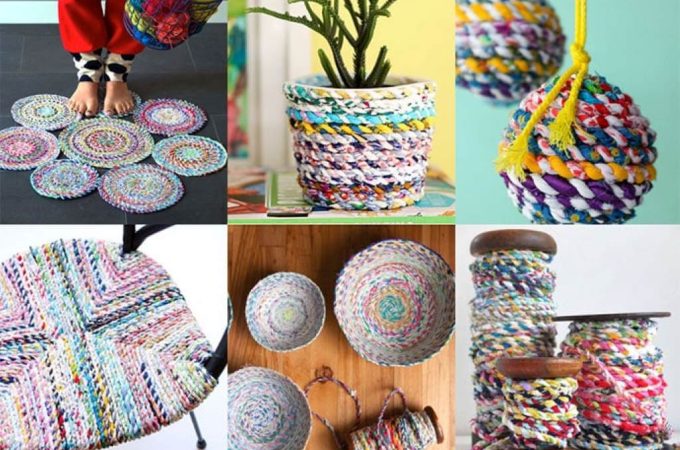
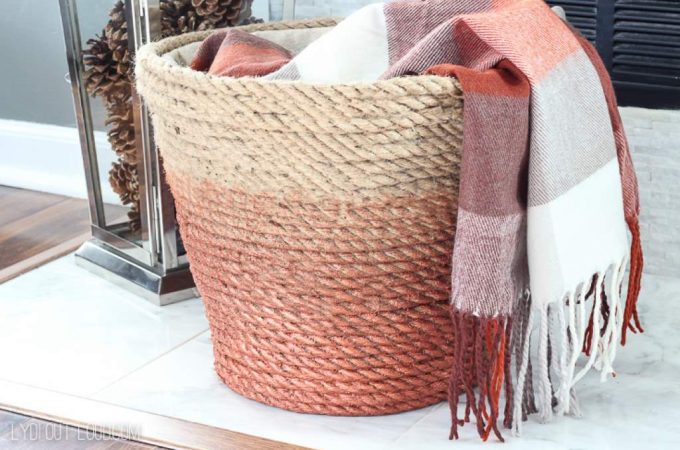
- Two-Tone Twist: Use two different colored ropes to create a visually striking spiral pattern. Alternate the colors with each round or create sections of contrasting hues.
- Textured Treasures: Incorporate different textures and thicknesses of rope for a dynamic and tactile experience. Combine chunky jute with a delicate cotton cord or add a pop of personality with a metallic thread.
- Handles with Flair: Attach rope handles to your bowl for added functionality and a touch of rustic elegance. Braid the handles for a more intricate look or simply loop the rope for a minimalist approach.
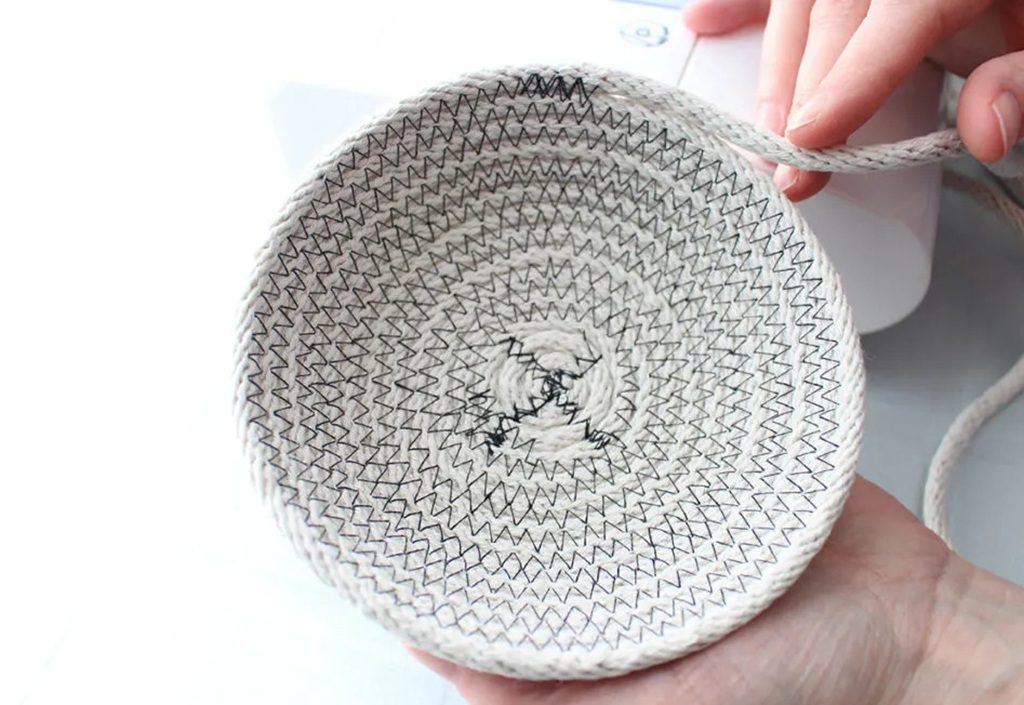
- Sewn, Not Glued: For a truly unique and handcrafted feel, try sewing the rope coils together instead of using glue. This technique requires a bit more patience and skill but yields a beautiful and durable result.
Showcasing Your Creations: Finding the Perfect Spot
Your handcrafted rope bowls deserve a place of honor in your home.
Here are some creative ways to display them:
- Centerpiece Stunner: Place a large rope bowl in the center of your dining table or coffee table as a striking centerpiece. Fill it with seasonal fruits, decorative orbs, or potpourri to add a touch of visual interest.
- Bathroom Bliss: Use smaller rope bowls to organize toiletries, cotton balls, and other bathroom essentials. Their natural texture and earthy tones will complement a spa-like atmosphere.
- Plant Paradise: Line a rope bowl with a plastic liner and use it as a stylish planter for your favorite houseplants. The natural fibers will complement the greenery and add a touch of bohemian charm.
- Catch-All Champion: Place rope bowls strategically around your home to corral keys, loose change, and other small items. Their textured surface will prevent items from slipping and sliding.
DIY Rope Bowl Reviews: What Crafters Are Saying
The crafting community has embraced DIY rope bowls with open arms, and the reviews are glowing!
Here’s what fellow makers have to say about their experiences:
- “Surprisingly easy and so much fun! I made a set of nesting bowls for my bathroom, and they look amazing.” – Sarah M.
- “This project was a great way to use up leftover rope from another project. I love the rustic texture and the endless possibilities for customization.” – John B.
- “I was intimidated at first, but the step-by-step instructions were clear and easy to follow. Now I’m hooked and can’t wait to make more!” – Maria G.
Related: Embrace the Knotty Trend: A DIY Guide to Hanging Rope Shelves
Frequently Asked Questions (FAQ)
Q: Can I wash my DIY rope bowl?
A: It depends on the type of rope you use. Natural fiber ropes like cotton or jute can be hand-washed with mild detergent and air-dried. Synthetic ropes are generally more durable and can be machine-washed on a gentle cycle. However, it’s always best to spot-clean your bowl whenever possible to preserve its shape and integrity.
Q: What type of glue is best for this project?
A: A high-temperature hot glue gun is recommended for this project as it provides a strong and lasting bond. Avoid using low-temperature glue guns as they may not hold the rope securely, especially for larger bowls.
Q: My rope keeps unraveling. What should I do?
A: If you’re working with a natural fiber rope, it’s normal for some fraying to occur. To prevent excessive unraveling, try sealing the ends of the rope with a bit of clear nail polish or fray check solution before you start coiling.
Q: Can I use this technique to make other shapes?
A: Absolutely! The coiling technique can be adapted to create a variety of shapes, such as coasters, placemats, and even decorative baskets. Get creative and experiment with different coiling patterns and angles to achieve your desired results.
Q: Where can I find affordable rope for this project?
A: Hardware stores, craft stores, and online retailers are all great sources for rope. You can also repurpose old rope from other projects or even try using clothesline or twine for a more rustic look.
Conclusion: Embrace the Joy of DIY
Creating your own DIY rope bowls is a rewarding experience that combines creativity, practicality, and a touch of rustic charm. Whether you’re a seasoned DIY enthusiast or a curious beginner, this guide has equipped you with the knowledge and inspiration to embark on your rope bowl crafting journey. So gather your supplies, unleash your imagination, and spin a yarn (or a rope!) into a beautiful and functional masterpiece. Happy crafting!

