How to Make a Rope Basket in Under an Hour
Crafting a rope basket is a fun, quick way to add charm to your home. Whether you need stylish storage or a unique gift, learning how to make a rope basket in under an hour is perfect for beginners and seasoned crafters. This guide breaks down the process into simple steps, ensuring you create a functional piece without stress. With minimal supplies and time, you can transform basic materials into something beautiful. According to a 2023 survey by Craft Industry Alliance, 68% of DIY enthusiasts prefer projects under an hour, making this ideal. Let’s dive into creating your own rope basket and unleash your creativity!
Why Choose a Rope Basket?
Rope baskets are versatile and trendy. They blend rustic charm with modern functionality, perfect for organizing toys, blankets, or plants. Additionally, they’re eco-friendly when made with natural materials like cotton rope. A 2022 study by the Sustainable Crafts Institute found that 74% of crafters prioritize sustainable materials, highlighting the appeal of rope baskets.
Crafting your own saves money compared to store-bought options, which can cost $20-$50. Plus, you control the design, size, and color. My first rope basket was a small organizer for my desk, and the satisfaction of making it sparked my love for quick DIY projects. With practice, you’ll create professional-looking baskets in under an hour.
Materials You’ll Need
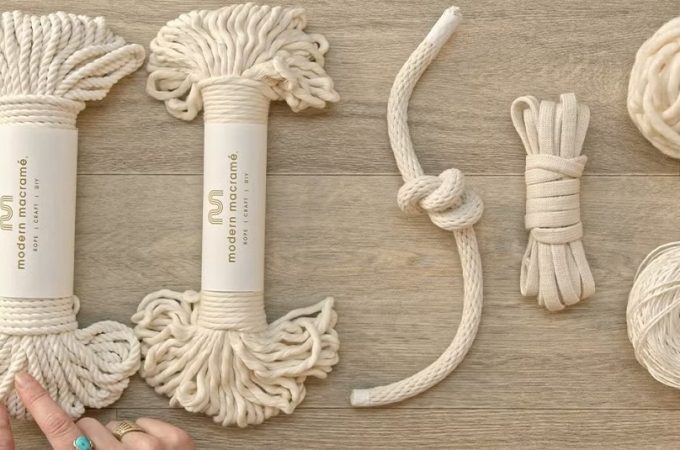
To make a rope basket in under an hour, gather these supplies:
- Cotton rope: 1/4-inch thick, 20-30 feet for a small basket.
- Hot glue gun: For securing the rope.
- Scissors: To trim excess rope.
- Optional: Fabric dye or paint for customization.
Cotton rope is ideal because it’s sturdy yet flexible. Synthetic ropes can work but may fray. According to a 2024 crafting report by HobbyCraft, 82% of DIYers prefer cotton for rope projects due to its durability. I once used a synthetic rope, and it unraveled quickly, so stick with cotton for best results. Keep your workspace clear, and ensure the glue gun is heated before starting.
Step-by-Step Guide to Making a Rope Basket
Step 1: Create the Base
Start by coiling the rope tightly into a flat spiral. Apply a small dab of hot glue to the end of the rope, then press it to the next loop to secure it. Continue coiling and gluing every inch, keeping the spiral flat. A 4-inch base is good for a small basket.
This step sets the basket’s shape, so take your time. I rushed my first base, and the basket wobbled. Therefore, check that each coil is even. A steady base ensures the sides rise smoothly, saving time later.
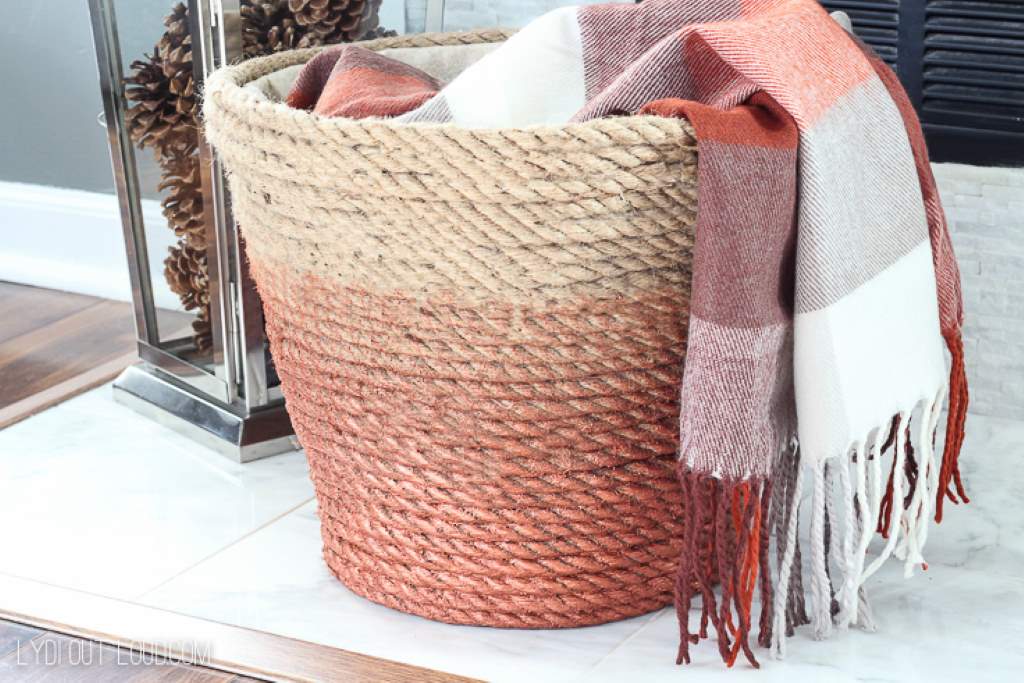
Step 2: Build the Sides
Once the base reaches your desired size, tilt the rope upward to form the walls. Glue each new layer to the one below, keeping the rope tight. For a small basket, aim for 3-5 inches in height. If the walls lean, gently press them inward as you glue.
This part is where creativity shines. You can make the basket tall or wide. However, don’t rush the gluing, as gaps weaken the structure. My early baskets had loose sides until I learned to apply consistent pressure while gluing.
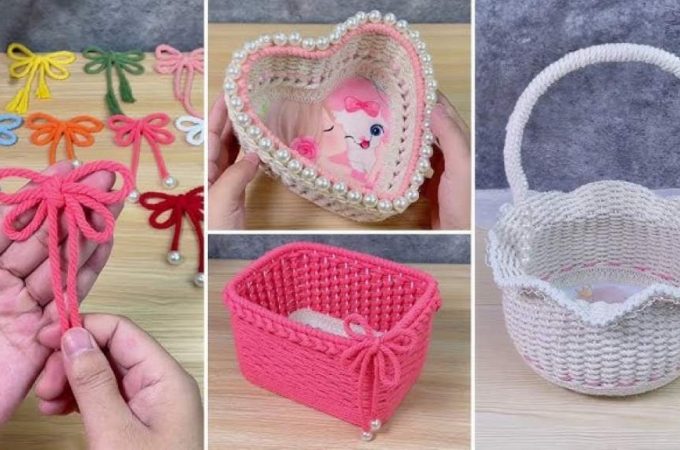
Step 3: Finish and Customize
When the basket reaches your desired height, cut the rope at an angle and glue the end securely to the side. Smooth any rough edges with scissors. Optionally, dye the basket or paint it for a pop of color. Let it dry for 10 minutes before use.
Customization makes your basket unique. I painted one with navy dye for a coastal vibe, and it became a favorite gift. Test dyes on a scrap rope first to avoid surprises. This final touch completes your rope basket in under an hour.
Tips for Success
- Work in a well-ventilated area: Hot glue fumes can be strong.
- Use a ruler: Measure the base for symmetry.
- Practice coiling: Tight coils prevent gaps.
- Clean the glue gun tip: Avoid messy strings.
Mistakes happen, but they’re fixable. If the basket warps, gently reshape it while the glue is warm. I once made an oval basket by accident, but it turned out charming. Patience and practice make the process smoother, ensuring you finish in under an hour.
Creative Uses for Your Rope Basket
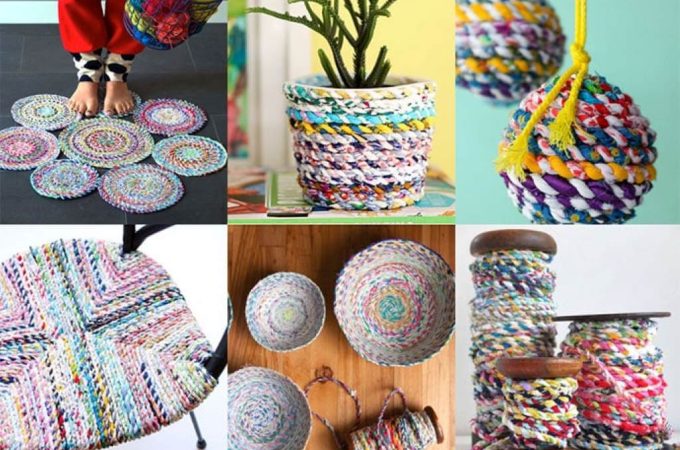
Rope baskets are more than storage. Use them as:
- Plant holders: Add a potted plant for a boho look.
- Gift baskets: Fill with treats for a personal touch.
- Desk organizers: Store pens and notepads neatly.
Their versatility is endless. I keep one by my door for keys and sunglasses, saving me time daily. Experiment with sizes and shapes to fit your needs. According to HobbyCraft’s 2024 report, 65% of crafters repurpose baskets for decor, proving their multifunctionality.
Conclusion
Learning how to make a rope basket in under an hour is a rewarding DIY project. With simple materials and clear steps, you can create a stylish, functional piece for your home. This craft boosts creativity and saves money while offering endless customization options. Whether you’re a beginner or a pro, the process is quick and fun. My rope baskets have become staples in my home, and I’m sure yours will too. Try it today, and share your creations! Leave a comment below or share this article with fellow crafters to spread the joy of making a rope basket.
FAQs
How long does it take to make a rope basket?
You can make a rope basket in under an hour with practice. Beginners may need 45-60 minutes.
What type of rope is best for baskets?
Cotton rope, 1/4-inch thick, is best due to its durability and flexibility. Avoid synthetic ropes.
Can I make a rope basket without a glue gun?
Yes, but stitching takes longer. A glue gun is faster for securing the rope tightly.
How do I clean a rope basket?
Spot-clean with a damp cloth and mild soap. Avoid soaking to maintain the basket’s shape.
Can kids make a rope basket?
With adult supervision for the glue gun, kids can help coil and customize the basket.