Soap on a Rope DIY: A Fun and Functional Project
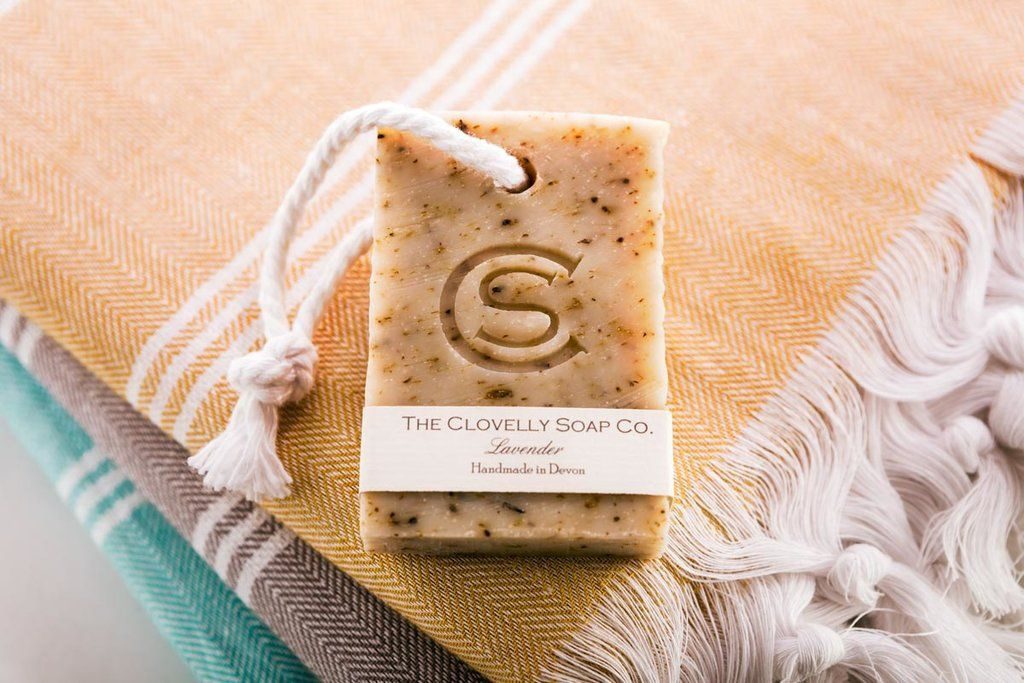
Soap on a rope, a nostalgic classic, is making a comeback! This practical and charming bathroom accessory is not only convenient but also adds a touch of rustic charm to your space. And the best part? It’s surprisingly easy to make at home. Whether you’re a seasoned DIY enthusiast or a beginner looking for a fun project, creating your own soap on a rope is a rewarding experience. This guide will walk you through the process, offer tips for customization, and even provide answers to frequently asked questions. Let’s dive in!
Contents at a Glance
ToggleWhy Choose Soap on a Rope?
Before we get our hands soapy, let’s explore why this old-fashioned trend is worth revisiting.
- Extended Soap Life: Suspending your soap helps it dry more effectively between uses, preventing it from becoming soggy and mushy. This means your soap lasts longer, saving you money and reducing waste.
- No More Messy Soap Dishes: Say goodbye to that slimy residue in your soap dish! With soap on a rope, your sink stays cleaner and tidier.
- Convenient and Easy to Use: The rope provides a secure grip, making it less likely to slip from your hands. Plus, it’s always within reach, hanging right where you need it.
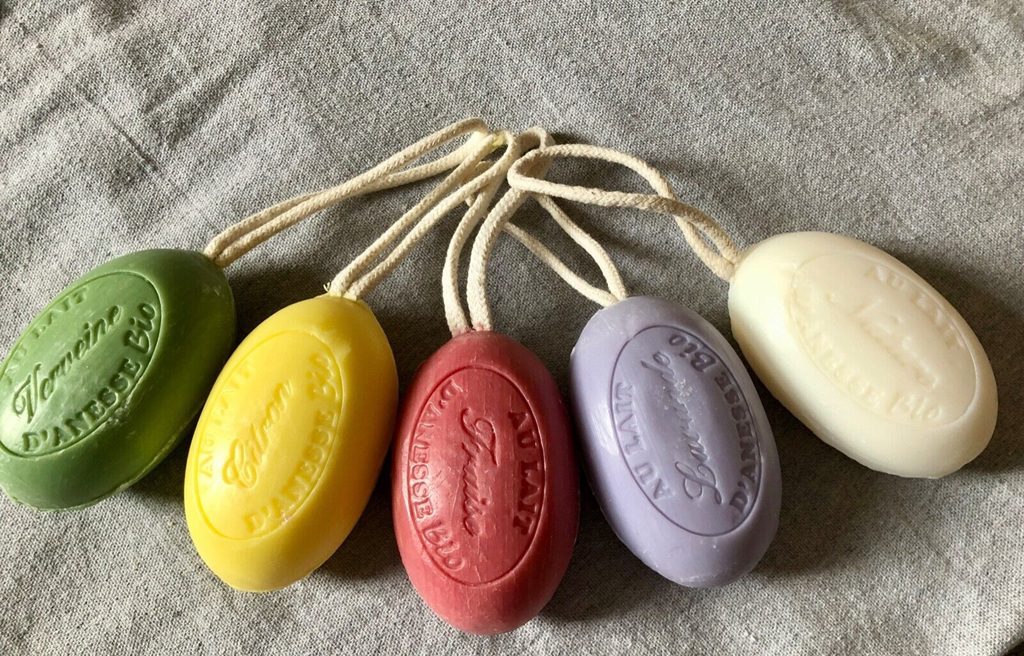
- Unique and Customizable: From the type of soap to the color and material of the rope, you have complete creative control. Personalize your soap on a rope to match your bathroom decor or create thoughtful handmade gifts.
Gathering Your Supplies
Ready to embark on this crafty adventure? Here’s what you’ll need:
- Soap: Choose a bar of soap that you love. Consider its size, shape, and scent. Cold-process soaps are ideal due to their firmness, but melt-and-pour soaps work well too. Avoid overly soft soaps as they might not hold up well.
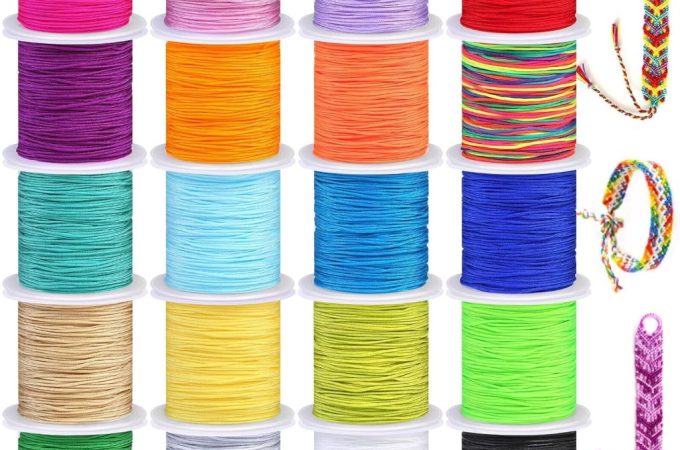
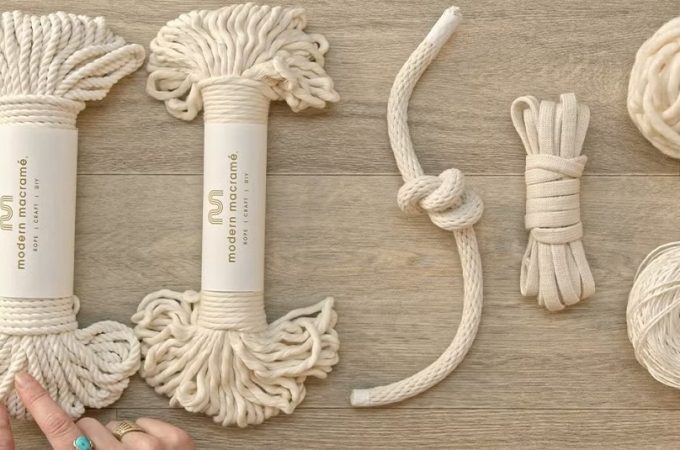
- Rope: Select a sturdy, water-resistant rope like sisal, jute, or hemp. Ensure it’s thick enough to provide a comfortable grip and long enough to hang comfortably.
- Drilling Tool: You’ll need a drill with a small drill bit (around 1/4 inch) to create the hole for the rope.
- Skewer or Chopstick: This will help guide the rope through the soap.
- Optional Embellishments: Get creative with beads, charms, or decorative knots to personalize your soap on a rope.
Step-by-Step Guide to Crafting Soap on a Rope
Now that you have your materials assembled, let’s get crafting!
- Prepare the Soap: If using a freshly made cold-process soap, allow it to cure for 4-6 weeks. This ensures it’s hard enough to hold the rope securely.
- Drill the Hole: Carefully drill a hole through the center of the soap bar, going from top to bottom. A drill press offers the best stability, but if you’re using a handheld drill, ensure the soap is secured to prevent accidents.
- Thread the Rope: Insert one end of the rope through the hole. If you’re having trouble, use a skewer or chopstick to guide it through.
- Secure the Rope: Tie a knot at the end of the rope that’s inside the soap. This will prevent it from slipping out. You can create a simple overhand knot or a more decorative knot for added flair.
- Add Embellishments (Optional): Thread beads or charms onto the rope before tying the knot at the other end to create a loop for hanging.
- Hang and Enjoy: Hang your newly crafted soap on a rope in your bathroom and enjoy the convenience and charm it adds to your space.
Tips for Customization and Creativity
- Soap Selection: Experiment with different types of soap, such as exfoliating soaps with embedded scrub particles, moisturizing soaps with shea butter, or fragrant soaps with essential oils.
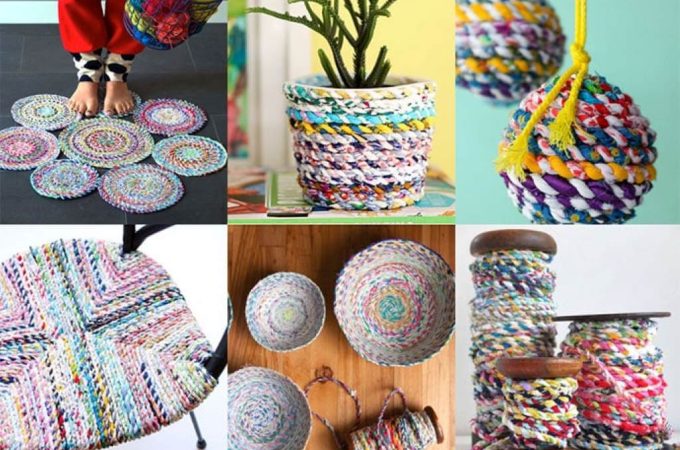
- Rope Variations: Explore different rope materials, colors, and thicknesses. You can even braid multiple strands together for a unique look.
- Embellishment Ideas: Add personality with beads, charms, or decorative knots. Consider using natural elements like wooden beads or shells for a rustic touch.
- Creative Knots: Learn basic macrame knots to create intricate patterns and designs on your rope.
- Layered Colors: Use melt-and-pour soap to create a soap with layered colors, adding visual interest to your project.
Reviews: What People Are Saying About DIY Soap on a Rope
The resurgence of soap on a rope has sparked a wave of creativity among DIY enthusiasts.
Here’s what people are saying about their experiences:
- “This was such a fun and easy project! I love that I can customize the soap and rope to match my bathroom.” – Sarah M.
- “Making soap on a rope is a great way to use up leftover soap scraps. I added some essential oils to give it a fresh scent.” – John B.
- “I made a batch of these as gifts for friends and family. They were a huge hit!” – Emily S.
- “The kids loved helping me make these. It’s a great activity for a rainy afternoon.” – David L.
Related: Elevate Your Garden: A Comprehensive Guide to DIY Hanging Basket Rope
Frequently Asked Questions (FAQ)
Q: Can I use any type of soap for this project?
A: While you can experiment, firmer soaps like cold-process soaps are recommended. Avoid very soft soaps that might become mushy or break easily.
Q: What if I don’t have a drill?
A: If you don’t have a drill, you can try using a sturdy metal skewer or a small, sharp knife to carefully create a hole in the soap. However, this requires extra caution.
Q: How do I prevent the rope from unraveling?
A: To prevent fraying, you can melt the ends of the rope slightly with a lighter or seal them with a bit of clear nail polish.
Q: Can I use this project to recycle old soap scraps?
A: Absolutely! Melt-and-pour soap is perfect for rebatching old soap scraps. Simply melt them down, add your desired fragrance and color, and pour the mixture into a mold with a rope already positioned in it.
Q: Where can I find supplies for this project?
A: Craft stores, online retailers, and even some hardware stores carry the necessary supplies. You might even have some of them already at home!
Related: Crafting a DIY Rope Dog Harness: A Step-by-Step Guide, Reviews, and FAQs
Beyond the Basics: Exploring Advanced Techniques
Once you’ve mastered the basic soap on a rope, you can explore more advanced techniques:
- Embedding Objects: Add small, waterproof objects like pebbles, shells, or even small toys into the soap before it hardens for a unique touch.
- Creating Designs: Use melt-and-pour soap to create swirls, and layers, or even embed intricate designs using soap-making molds.
- Adding Exfoliants: Mix exfoliating ingredients like oatmeal, coffee grounds, or poppy seeds into the melted soap before pouring it into the mold.
- Using Natural Dyes: Experiment with natural dyes like turmeric, beetroot powder, or cocoa powder to color your soap.
Soap on a Rope: A Sustainable Choice
In a world increasingly focused on sustainability, making your own soap on a rope is a small step towards reducing waste and embracing eco-friendly practices. By using natural materials and repurposing old soap scraps, you contribute to a healthier planet.
Conclusion: Embrace the Charm of Handmade Soap
Creating your own soap on a rope is a rewarding experience that combines creativity, practicality, and sustainability. Whether you’re looking for a fun DIY project, a unique gift idea, or a way to add a touch of rustic charm to your bathroom, soap on a rope is a delightful choice. So gather your supplies, unleash your creativity, and enjoy the process of crafting something beautiful and functional with your own hands.

