How to Tie Rope to Kite: A Step-by-Step Guide
To tie rope to a kite, start by finding the kite’s bridle point. Secure the rope with a simple overhand knot or a larks head knot for a stronger hold.
Tying the perfect knot is essential for the success of your kite flying. Your kite’s performance hinges on the firmness of the tie as well as the chosen connecting point. The process is straightforward, and even beginners can quickly master it, ensuring their kite soars high without the risk of detachment.
Understanding the dynamics of your kite is crucial; it typically has designated points for attachment that align with its aerodynamic structure. Using the correct technique not only guarantees that your kite will fly smoothly but also prolongs the life of your kite by preventing damage caused by improper tying methods. Start your kite-flying adventures on the right foot by mastering this simple yet vital skill.
Choosing The Right Rope For Kite Flying
Understanding the correct method for attaching rope to your kite is essential for optimal flight performance. Selecting a durable, lightweight rope will ensure your kite soars higher and with greater stability.
Understanding The Importance Of Rope Type
Factors To Consider When Selecting A Rope
- Strength: A rope must withstand the pull of the kite without snapping. Look for tensile strength ratings suitable for the size and type of your kite.
- Diameter: A thicker rope might be stronger, but it can also create more drag and reduce the kite’s agility. Find a good balance for your particular kite.
- Weight: Lightweight ropes improve kite performance and sensitivity. Heavier lines might hinder the kite’s ability to climb and maneuver.
- Material: Common materials include polyester, nylon, and Dyneema. Each offers different benefits in terms of strength, stretch, and wear resistance.
- Wind Conditions: Adjust rope choice based on the expected wind conditions. Stronger winds might require a more robust rope.
- Length: Longer ropes enable higher flights, but control becomes more challenging. Choose a length that suits your skill level.
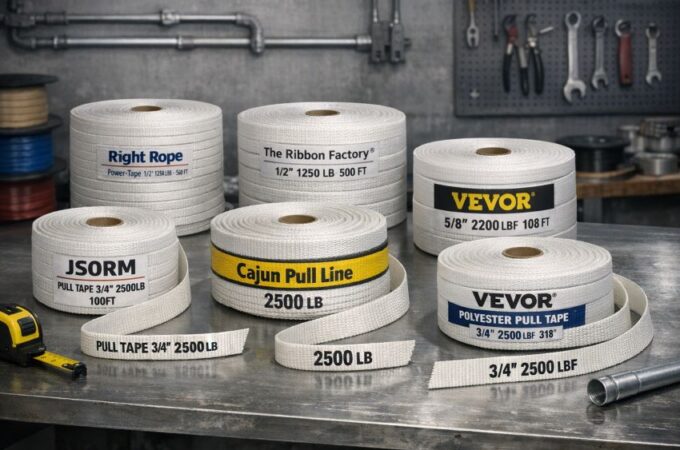
| Material | Benefits | Best for Wind Conditions |
|---|---|---|
| Polyester | Low stretch, durable | Light to moderate winds |
| Nylon | Elasticity, shock absorption | Moderate winds |
| Dyneema | High strength, low drag | Strong winds |

Credit: www.northjersey.com
Matching Rope To Kite: Step-by-step Process
Learn the step-by-step process of securing rope to your kite for optimal flight. This guide simplifies the attachment technique, ensuring your kite soars high and steady.
Unraveling The Rope For Use
Before securing the rope to your kite, it’s important to prepare it for use. This crucial step ensures there are no tangles or weak spots that could result in a snapped line or lost kite.
- Inspect the rope: Check the entire length for any signs of wear or damage.
- Uncoil the rope: Gently unroll the rope from its spool or coil, taking care not to introduce any twists or knots.
- Stretch out the rope: Lay the rope on a flat surface or hold it taught to identify any kinks.
- Untangle carefully: If there are tangles, work them out with patient and gentle movements to avoid damaging the rope fibers.
Securing The Rope To The Kite
With a smooth, prepared rope, the next step is to fasten it securely to your kite. This connection is pivotal; a reliable knot means a steady flight.
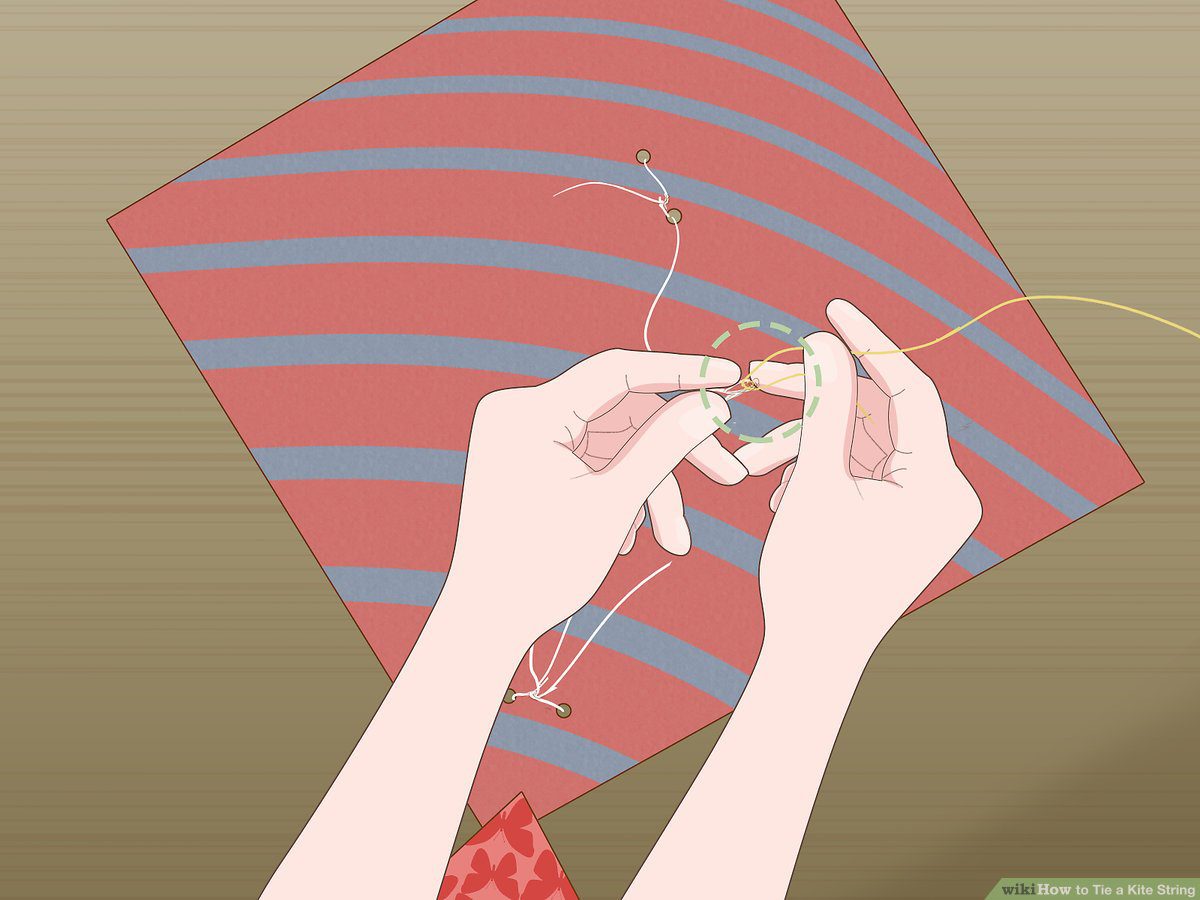
- Locate the kite’s bridle point: This is where you will attach the rope, often marked by the manufacturer.
- Larks head knot: Use this popular, secure knot for attachment:
- Create a loop at the end of the rope.
- Slip the loop over the bridle point.
- Pull the rest of the rope through the loop, creating a larks head.
- Tighten the knot by pulling on the main length of the rope.
Tying The Rope To The Kite: Essential Knots
Master the art of securing your kite for flight with expert knot-tying techniques. Discover the essential knots that ensure your kite’s stability and enhance your flying experience.
Introduction To Essential Knots For Kites
Mastery of a few essential knots can mean the difference between a kite that soars effortlessly and one that struggles or crashes. Different types of kites and flying conditions call for specific knots. Here are the key knots that will ensure your kite has maximum stability and performance:
- The Larkshead Knot: A simple yet versatile knot for attaching the line to the kite’s bridle points.
- The Bowline Knot: Known for its strength and reliability, perfect for creating a fixed loop that won’t slip under tension.
- The Double Loop Knot: Ideal for when you need a secure loop that can be easily adjusted.
- The Figure-Eight Knot: A robust knot that prevents the line from slipping and is easy to untie when you’re done flying.
Step-by-step Guide For Tying A Secure Knot
For a successful kite flying experience, follow this step-by-step guide to tie a secure knot to your kite:
The Larkshead Knot
- Take your kite line and fold it to make a small loop at the middle.
- Place the loop over the kite’s bridle point.
- Pull the rest of the line through the loop creating a larkshead.
- Tighten the knot by pulling on the line while holding the bridle point.
The Bowline Knot
- Form a small loop (the “rabbit hole”) in the standing part of the line.
- Pass the free end (the “rabbit”) up through the rabbit hole.
- Wrap the rabbit around the standing line.
- Take the rabbit back down through the hole (“back into the hole”).
- Pull on the rabbit while holding the standing line to tighten the knot.
The Double Loop Knot
- Create two loops by folding the line twice at the end.
- Pass the second loop through the first loop.
- Place the resulting loop over the kite’s bridle point.
- Pull on the standing line to tighten the knot around the bridle point.
The Figure-Eight Knot
Follow these steps to ensure your figure-eight knot is tied correctly:
- Make a loop near the end of the line.
- Pass the end of the line over and around the standing line and back through the loop. This forms the shape of an ‘8’.
- Tighten the knot by pulling both the end and the standing line in opposite directions.
Safety Measures And Precautions
Flying a kite can be a serene and joyous experience, but without proper safety measures in place, it can quickly turn hazardous. Ensuring the rope is securely tied to the kite is crucial, as it not only affects the kite’s performance but also your safety and that of those around you. In the following sections, we’ll delve into the importance of safety when tying the kite’s rope and the necessary precautions to consider while engaging in this age-old pastime.
Importance Of Safety When Tying The Rope
Precautions To Take When Flying Kites
- Check Weather Conditions: Avoid flying kites during adverse weather, particularly in thunderstorms, to prevent electric shock or lightning strikes.
- Choose Open Spaces: Fly kites in open areas clear of people, power lines, and obstructions.
- Use Proper Equipment: Employ gloves and quality rope to avoid cuts and maintain a good grip.
- Supervise Children: Always accompany minors and instruct them on safe flying practices.
Troubleshooting: Common Rope-kite Issues
Elevating a kite into the sky is an exhilarating experience that can quickly plunge into frustration when faced with rope-kite connection issues. Knowing how to identify and fix these problems is crucial for an uninterrupted flight. In this section, we delve into the common dilemmas kite fliers encounter, offering practical solutions to get your kite soaring high once again.
Identifying Common Problems With Rope-kite Connections
- Slippage: The rope may slip from the kite’s bridle, causing a loss of control.
- Wear and Tear: Frayed or weakened rope can lead to breakage during flight.
- Knot Issues: Incorrectly tied knots can compromise the kite’s stability in the air.
Effective Solutions For Troubleshooting Difficulties
| Problem | Solution |
|---|---|
| Slippage | Secure the connection with a double loop knot to enhance grip. |
| Wear and Tear | Replace the rope with a high-quality, UV resistant rope specific to kite flying. |
| Knot Issues | Learn and apply recommended knots such as the Bowline or Larkshead for reliable connections. |
When faced with persistent issues, it might be helpful to consult a kite-flying manual or reach out to experienced kite flyers for advice. Practice and patience are essential for mastering the art of kite flying, and a secure rope-kite connection is a pivotal part of that journey.
Frequently Asked Questions Of How To Tie Rope To Kite
How Do You Tie A Loop On A Kite Line?
Start by creating a simple overhand knot at your desired loop point on the kite line. Pass the end of the line through this knot, forming a loop. Tighten the knot securely against the loop to ensure it holds while flying the kite.
How Do You Attach A Fly Line To A Kite?
To attach a fly line to a kite, tie a loop at the end of the line using a secure knot. Then, connect this loop to the kite’s bridle points or tow point with a lark’s head knot, ensuring a snug fit to prevent detachment during flight.
What Is The Best Knot For Flying A Kite?
The bowline knot is considered the best for flying a kite due to its strong, non-slip loop that maintains stability and strength in the air.
How Do You Attach String To A Diamond Kite?
To attach string to a diamond kite, tie the string to the bridle at the kite’s center where the cross spar and spine meet. Ensure the knot is secure for optimal flying.
Conclusion
As we wrap up, remember that properly tying your kite ensures a successful flight. Master these methods, and watch your kite soar confidently against the blue canvas above. Embrace each step, and cherish the joy kite flying brings. May your next adventure be a breeze! Fly high and enjoy!