How to weave a climbing rope rug?
I love weaving, and I’ve been doing it since I was a kid. I’ve also always loved rugs, and so when my wife and I decided to buy a house, we knew that we wanted to have something special for the living room floor. So instead of simply buying a new rug or carpet, we decided to make one ourselves!
How to weave a climbing rope rug?
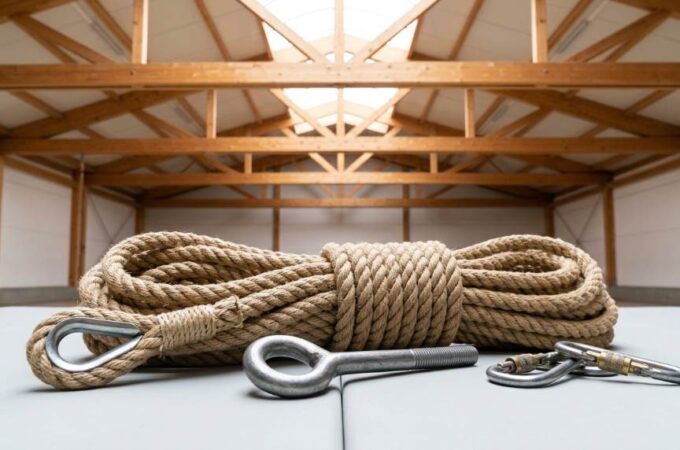
We started off by buying some raw materials from our local hardware store: 100 feet of climbing rope (which is much thicker than normal rope) and 50 feet of twine (which is used in sewing). Then we went home and spent about two weeks working on the design for our new rug before starting work on it for real. The first step was to cut all the ropes into equal lengths so that they’d be easier to handle when weaving them together later on; then we took those pieces outside so they could soak in some sun while drying off after being cut (this made them less likely to get tangled up with each other while working with them later on).
Attach the rope to a loom
You’ll need to attach the rope to a loom. You can use a clothespin to hold the rope in place (if you’re making a square rug) or use pieces of string and tacks to secure certain parts of the rope (if you’re weaving something more freeform).
You’ll also need to mark each piece of rope about where it needs to be cut, based on how many rows you want your rug to have and how thick those rows should be. Use an erasable marker or pencil so that if there’s any error in measurement, it will be easy enough for you or someone else to correct later on. Finally, attach one end of each piece with a magnet—this will make it easier for them all to stay together as they move through different stages during construction.
Measure and mark
Once you’ve measured and marked where you plan to cut along the length of the rope sections, it’s time to cut. Using a sharp pair of scissors or a utility knife, cut each section at your marks.
This can be a little tricky if you have a lot of pieces on hand, but try your best not to get frustrated! If you end up with an uneven piece or two, just throw them away and move on—it happens! (But don’t forget that old habits die hard.)
Next up: use a marker to mark both ends of each piece so that they are all clearly marked as “left-handed crevice” or “right-handed plait.” You don’t need fancy calligraphy here; just write down something clear enough for everyone involved in this project (including yourself) to see later on when weaving begins.
Cut the climbing rope at your marks
Once you’ve measured, transfer the measurements to your cutting surface. Then, using a sharp knife and a ruler, cut the climbing rope at your marks.
You don’t want to cut it too short! You need enough rope to make a few knots in order for this project to work properly—don’t worry if you have some extra left over after weaving (you can always use it somewhere else).
Use a marker to mark the center
Use a marker to mark the center of each piece of rope that you cut and be sure to alternate which side you mark. You’ll need the center marks for later when you are weaving the rope together; otherwise, it will be a lot harder to keep track of where your rug is supposed to go.
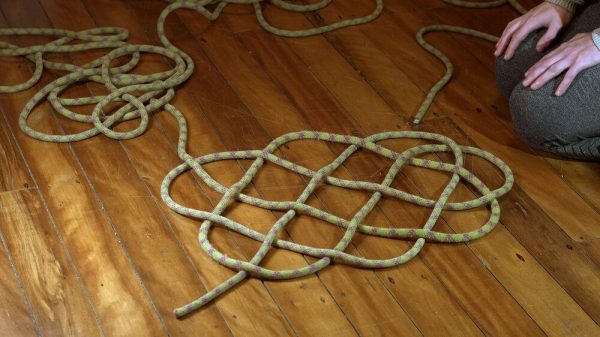
Once all pieces have been cut and marked, take one long piece (the longest) and fold it in half so that both ends meet in the middle. Take an end from another long piece (any other color), lay it over one end of your folded-over piece so that they overlap, then twist them together six times clockwise or counterclockwise depending on whether you want it more flat or curly looking.(The direction doesn’t matter too much.) Tie off with a double knot at each corner where two pieces meet up; repeat this step until all four corners are tied off with double knots.*
Use hot glue to attach a magnet
You’re going to need some magnets to hold your weaving in place while you work. To attach a magnet, use hot glue and apply a small amount of glue on one end of the rope piece. Be sure to leave open space in the center so that you can weave another rope section through it later on.
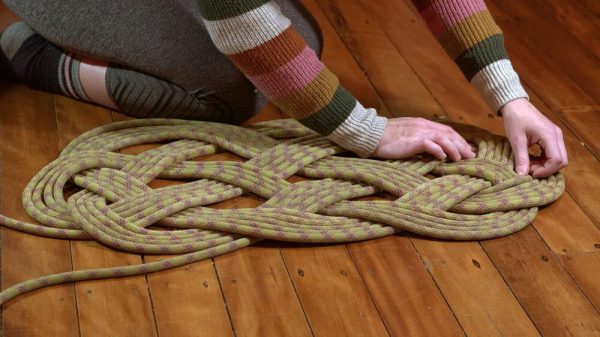
Keep weaving
Once you’ve finished weaving the rope, make sure to weave the loose ends of your rope into the rug. You may want to use a binder clip or clothespin to keep your loose ends handy while weaving. If you don’t have any of these available, try just wrapping them around another piece of rope that is already in place on your rug.
Make this wonderful rug
Making a rope rug is a great way to bring some extra style and personality into your home. Rope rugs are also a very easy DIY project, as they do not require much skill or craftsmanship. If you love the idea of making one for yourself, but don’t know where to start, this tutorial will walk you through the process step by step.
Gather your materials and tools: You will need two sets of climbing ropes (one set needs to be longer than the other), scissors or wire cutters, pliers or clippers and an awl (this can be found at most hardware stores). In addition to these materials, we recommend using a workbench to keep everything organized while creating your rug. It’s also good practice when working with rope that all knots should be tied tightly so they don’t come undone while weaving/tying them together!
Conclusion
There are many different ways to weave a rug. Some methods are easier than others, but all of them require some basic weaving skills. I chose this method because it’s quick, easy and looks great in any room!