New England Ropes Splicing Guide: Prepare Your Own Ropes
New England ropes are an essential part of the outdoor experience, whether you’re hiking a trail or doing some rock climbing. But they can be difficult to splice without making errors. This article provides an overview of the process, with step-by-step instructions and illustrations on how to prepare your own ropes.
New England Ropes Splicing Guide: Tips and Tricks
If you’re a fan of the outdoors and love to spend time outdoors, you know that tying knots is essential for making sturdy ropes. However, not all knots are created equal- some can be easier to tie than others. In this New England Ropes Splicing Guide, we’ll teach you how to make the most common knots and how to use them for your next outdoor adventure.

The Bowline Knot is one of the most commonly used knots in the world. It’s perfect for tying together two ropes of different lengths or when you need a strong, secure knot. To tie the Bowline Knot, start by taking one rope and making a loop. You should now have a small loop on one side of your hand and a large loop on the other side. Cross the large loop over the small loop, tucking it under so it forms an ‘X.’ Take the end of the rope you just crossed over and make a tight knot around the outside of the ‘X’ formed by the loops. You’ve now tied the Bowline Knot!
The Shear Knot is another great knot for tying together two ropes. To tie the Shear Knot, start by taking one rope and making a loop. Make sure that the loop is big enough to accommodate at least one more rope. You can then lay the second rope across the top of the first and slide it down so that it’s even with the bottom of the loop. Tie a Half Hitch around both ropes, tightening them up as much as possible. Take both loose ends and make a tight knot around these two ropes.
What are Ropes?
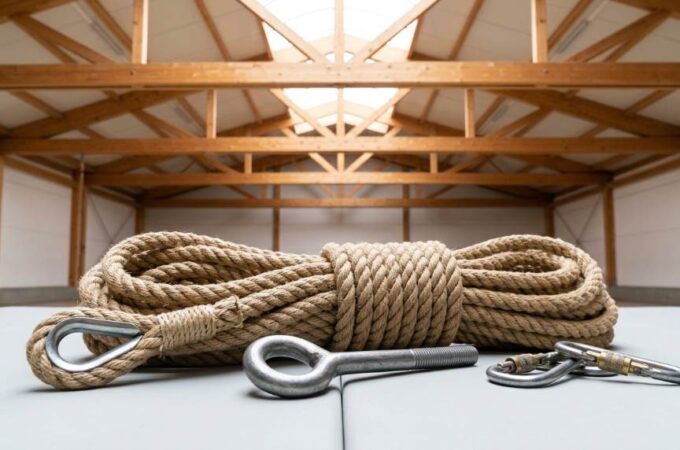
Ropes make a great connection between two different objects or people. They are made from various materials, but all ropes have a core of fiber that is twisted around and bonded together.
Types of Ropes:
-Duct Tape: This type of rope is made out of duct tape. It is not as strong as other ropes but cheap and easy to use.
-Parachute Cord: Parachute cord is a very sturdy and durable rope. It is also expensive, but it lasts a long time.
-Rope Ties: Rope ties are the most common type of rope tie. They are both strong and affordable.
-Eccentric Shackle: Eccentric shackles are used to connect ropes together in an unusual way. They are difficult to use, but they can be very strong.
How to Prepare Your Own Ropes
If you’re like most outdoor enthusiasts, you’ll need to splice ropes from time to time. Splicing is the process of joining two ropes together so they can be used as one long rope. This guide will show you how to prepare your own ropes for splicing properly, so you can get the job done right and avoid any problems.
Splicing is a simple process that can be done with just a few supplies. The first thing you’ll need is a pair of ropes. Make sure the ropes are of equal lengths and choose a strong enough material that won’t break when spliced together. Next, make a loop out of one of the ropes and knot it securely. Then, take the other rope and make a loop out of it, but don’t tie it yet. Instead, put the loop over the first knot and pull tight. You now have a loop of rope that’s double the original size. Finally, tie the second knot in the middle of the first knot to create your splice.
Basic Steps for Splicing
When starting out with ropes, it is important to understand how ropes are spliced. This guide will outline the steps necessary for splicing ropes yourself, from start to finish.
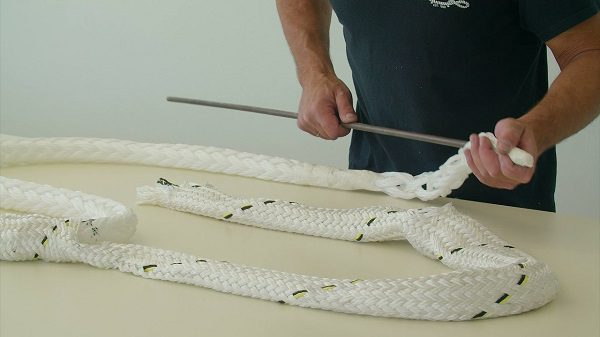
There are a few items that you will need before beginning: a pair of rope cutters, a knife, and some rope. The most common type of rope is called stranded rope, which comprises many smaller strands. To splice stranded rope, you will first need to cut the rope into two equal lengths. You can then use the knife to make evenly spaced cuts across both pieces of rope, ensuring not to cut through the strands themselves. After making the cuts, pull each end of the rope through one of the cuts and twist it around until it forms a knot. Then repeat the process on the other end of the rope.
Splice vs. Lashing
Splicing is the traditional method of joining ropes together. To do it, you first tie one end of the rope to something secure, like a bolt or a tree. Then, you tie the other end of the rope to the first one. This creates a loop that can be pulled tight. You can create a strong connection between the ropes by pulling on both ends of the loop at once.
Lashing is a newer technique that is becoming more popular among climbers. It’s similar to splicing, but instead of creating a loop, lashing uses short loops spaced evenly along the length of the rope. When you lash a rope to something, you also make sure to lash each loop in opposite directions so that they form an X-shape. This makes it much harder for something to pull the ropes apart accidentally.
Conclusion
If you’re ever in need of a new set of ropes, or would just like to be able to splice your own ropes without needing any help from outside sources, then this New England Ropes Splicing Guide is for you. This guide walks you through the different steps necessary to splice your own ropes, including explaining each step in detail. With this knowledge at your disposal, you’ll be able to handle any rope-related emergencies that pop up without worrying about finding someone to help you out.