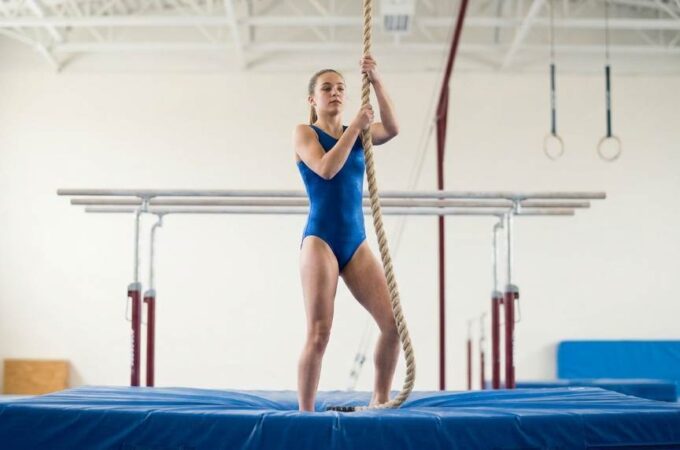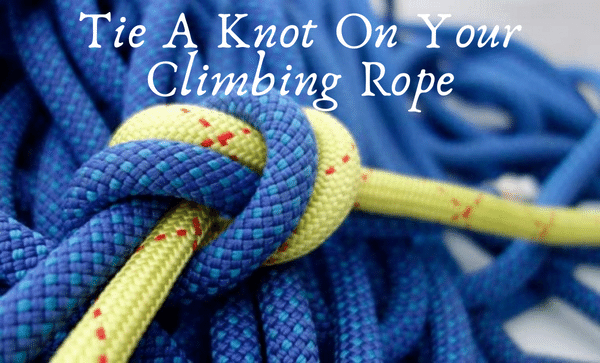
Tips To Tie A Knot On Your Climbing Rope
Climbing Rope and knots are two terms that go hand-in-hand with one another. There are a lot of different types of knots, but it’s important to learn how to tie the right knot for the right situation. In this blog article, we’ll be looking at different types of knots and what they’re used for so that you can find the perfect knot for your climbing rope!
Contents at a Glance
ToggleWhat is a Knotted Climbing Rope?
A knotted climbing rope is a type of climbing rope that has been tie-died. Knotting the rope creates a protective barrier for the climber, and makes the rope more difficult to untie.
Why have Knots in your Climbing Rope?
Numerous climbers have asked this question, so here are some tips to help you tie a knot on your climbing rope:
-Tie a slipknot just below the carabiner or quickdraw, and leave enough slack in the rope for easy tying and untying.
-Form a loop with one end of the rope and place the loop over the other end of the rope. Make sure that the loop is big enough to cover both ends of the rope. Now pull tight on both ends of the loop. The knot should now be close to the carabiner or quickdraw.
-Take the free end of the rope and make a small loop, just big enough to fit over the top of the knot. Now thread it through the hole in the middle of the small loop made in step 2. This will create a “bunny ear” shape.
-Pull on both ends of the small loop, tightening it up so that it forms a secure “bunny ear” shape.
How to tie a knot in your climbing rope
There are a few different knots you can use to make sure your climbing rope is secured and won’t come undone during your ascents. Here are three of the most common knots and how to tie them: the bowline, the reef knot, and the overhand knot.
The bowline is the simplest knot you can make and is often used to secure a rope around an overhead or edge object. To tie a bowline, simply form a loop with the rope, making sure the working end is behind the loop. Take the working end in your left hand and put it over the top of the loop, pulling it tight so that the loop encloses the working end. Then take your right hand and put it over the top of the left hand, pushing down so that it forms a “bight”. Finally, pull on both ends of the rope to tighten up the bight.
The reef knot is a bit more complicated than the bowline but is still quite simple to tie. To tie a reef knot, start by forming a loop with your rope. Make sure that one end of the loop is hanging down below the other end (the “lower” end). Take the lower end and put it over your right hand (the “upper” end) and wrap the lower end around, going around several times. The next step is to take the upper end and pass it between your hands, bringing it up under the lower end. Then, take your left hand and pull on both ends of the rope to tighten up the bight.
That’s it! You now have a temporary knot that will do just about anything you want for a length of rope that is no longer than five times its length!
The Different Knots in the Knotted Climbing Rope
When it comes to tying a knot in your climbing rope, you have a few different options to choose from. In this blog post, we’ll discuss the different knots and their respective uses.
The Bowline Knot: The Bowline is a simple but effective knot for tying a climbing rope around an object or another rope. To tie the bowline, take the end of your rope and make a loop. Make a small loop in the middle of the first loop, and then make a larger loop out of the small one. Draw the ends of the ropes together through the middle of the large loop, and pull tight. The bowline should now be close to the object you’re tying it to. To finish, make two more loops in opposite directions (so that you have four loops on each side of the original), and cross them over each other. Make sure that these crossings are tight before pulling through again.
The Fisherman’s Knot: The Fisherman’s Knot is similar to the bowline knot, but it’s slightly more secure. To tie it, take the end of your rope and make a loop. Make a small loop in the middle of the first loop, and then go back through the center of the small loop. Continue all the way around and back through the end, crossing over itself to form a knot. This knot is much easier to untie than a bowline, which can be frustrating if you’re in a hurry, so if this knot ever comes up during a hike or camping trip, it’s safe to say that the ends of your rope will never have been in each other’s way again.
The Figure Eight Knot: There are two versions of the figure eight knot – one for beginners and another for more advanced climbers. To tie either version, take two pieces of rope (the two ropes can be different sizes) and tie an overhand knot around both ropes at one end. Then make a second overhand knot and pull the ends of both ropes through the first knot. Then make a figure eight knot with the two original ends (the ones that were inside the first overhand knot) and wind the excess rope back around itself once more to complete the figure eight knot. The beginner version is far easier than the advanced one, but it’s still quite secure.
Advantages of Knotted Climbing Ropes
When it comes to climbing ropes, there are a few things to keep in mind. For a start, knots can help prevent your rope from becoming tangled and making it difficult to climb. Additionally, knots can also provide extra security when climbing by creating a more consistent grip. And finally, knots can help you measure the distance you’ve climbed. Here are some tips on how to tie a knot on your climbing rope:
– Start by placing the end of the rope over the object or anchor you’re tying it to. Make sure the loop is big enough so that you have enough slack in the rope.
– Now make a small loop with one end of the rope and place this loop over the top of the first loop. Hold on to both loops and pull tight. This will create a knot.
– Repeat steps 2 and 3 until you reach the end of the rope. Make sure each knot is secure before moving on to the next one.
Conclusion
Tying a knot on your climbing rope is an important skill to have, especially if you’re going to be using it for rappelling or abseiling. There are a couple of different ways to tie a knot, and whichever method you choose will depend on the type of rope you’re using. Once you’ve learned how to tie a basic knot, practice making it in different situations so that you’re prepared for any eventuality.