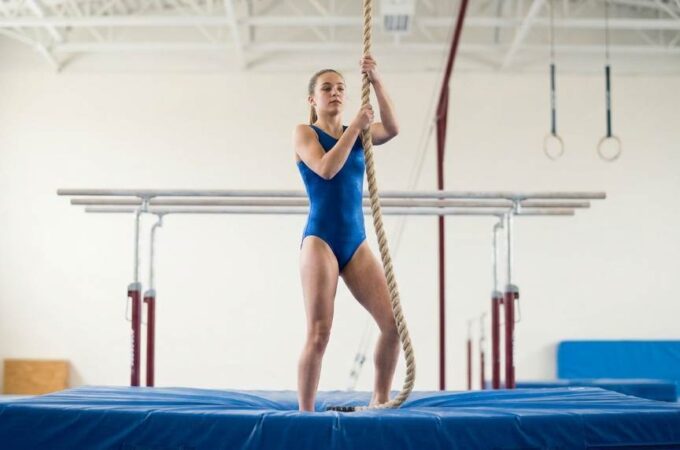
How to Hang a Gymnastics Rope for Climbing?
Installing a gymnastics climbing rope correctly is essential for both performance and safety. According to sports injury research, improper equipment installation contributes to thousands of recreational injuries annually in the United States. Therefore, understanding how to hang a gymnastics rope for climbing can significantly reduce risks while improving training effectiveness. Whether you plan to build a home gym, upgrade a garage workout space, or install equipment in a training facility, proper installation methods matter. Additionally, choosing quality equipment such as gymnastics rope for climbing products ensures better durability and safer performance. This guide explains every step needed for a secure and professional installation.
Why Proper Gymnastics Rope Installation Matters
A gymnastics climbing rope experiences significant dynamic force during use. Consequently, improper installation can lead to equipment failure and serious injuries.
Professional gymnastics facilities follow strict installation standards for a reason. Moreover, proper mounting increases equipment lifespan and improves user confidence.
Correct installation provides several important benefits:
- Improved user safety
- Greater weight capacity
- Enhanced climbing performance
- Longer rope durability
- Reduced maintenance requirements
Choose the Right Gymnastics Rope First
Before learning how to hang a gymnastics rope for climbing, select the appropriate rope specifications. Different environments require different rope materials and lengths.
Natural fiber ropes offer excellent grip characteristics. Meanwhile, synthetic ropes provide greater weather resistance and durability.
Recommended Rope Specifications
- Diameter: 1.5 to 2 inches
- Length: 10 to 30 feet
- Weight rating: Minimum 500 pounds
- Material: Manila, hemp, or synthetic blend
- End type: Heat sealed or professionally whipped
Evaluate Your Installation Location
The installation location determines overall safety and functionality. Therefore, perform a thorough assessment before purchasing mounting hardware.
Indoor installations typically offer greater control over environmental conditions. However, outdoor installations require additional weather protection measures.
Best Indoor Installation Areas
- Garage ceilings
- Home gyms
- Basements with exposed beams
- Commercial fitness centers
- Cross training facilities
Best Outdoor Installation Areas
- Heavy duty playground frames
- Steel exercise rigs
- Large tree branches
- Outdoor fitness stations
Determine Ceiling Height Requirements
Ceiling height directly affects climbing performance and safety clearance. Consequently, measuring vertical space accurately becomes essential.
Most residential installations use ceiling heights between 8 and 12 feet. Meanwhile, commercial training facilities often exceed 15 feet.
Consider these clearance recommendations:
- 8-foot ceiling: Beginner training
- 10-foot ceiling: Intermediate climbing
- 12-foot ceiling: Advanced home training
- 15-foot or higher: Professional training
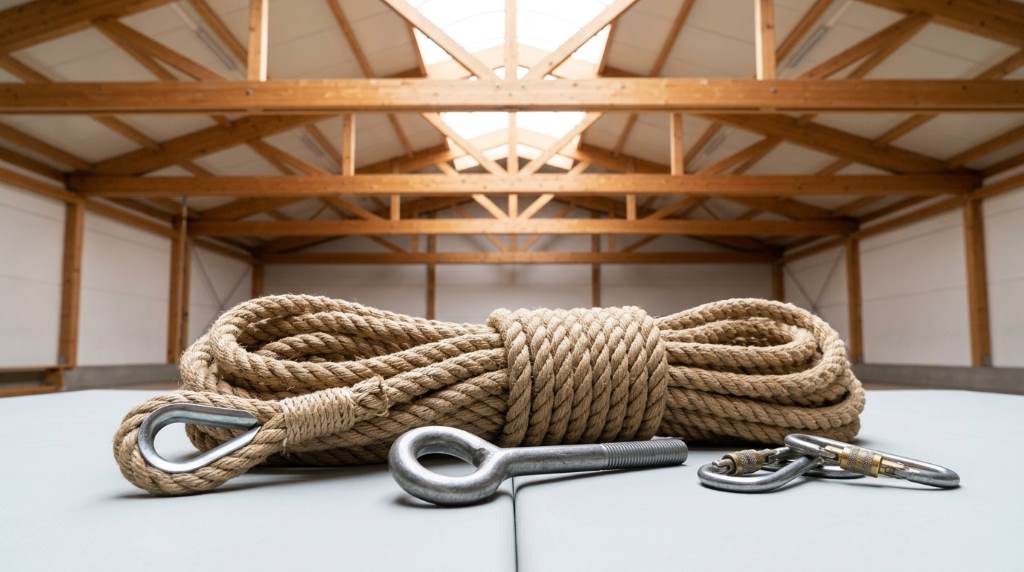
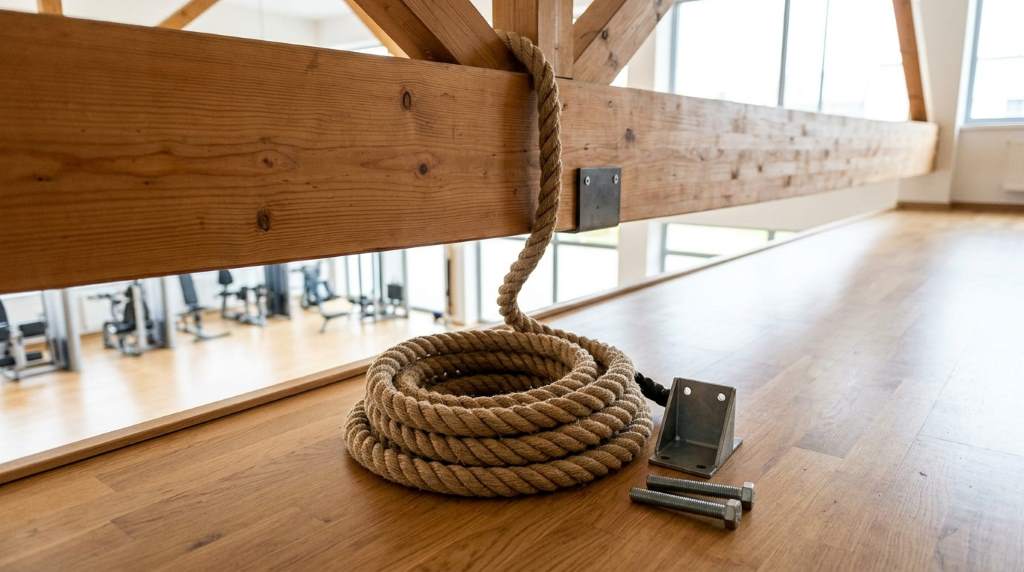
Select the Proper Mounting Hardware
Mounting hardware determines the strength of your entire installation. Therefore, never compromise on hardware quality or weight ratings.
Professional-grade components provide greater reliability under repeated stress. Additionally, certified hardware reduces long-term maintenance concerns.
Essential Mounting Equipment
- Heavy duty ceiling mount bracket
- Load-rated carabiner
- Swivel attachment
- Anchor bolts
- Steel support plates
Locate Structural Support Points
Never attach a climbing rope directly to drywall or decorative ceiling materials. Instead, identify structural support members first.
Wooden joists and steel beams provide suitable anchoring points. Furthermore, structural supports must exceed anticipated load requirements.
How to Find Structural Supports
- Use an electronic stud finder.
- Verify support locations manually.
- Inspect attic access when available.
- Measure support dimensions.
- Confirm weight-bearing capacity.
Install the Ceiling Mount Securely
After locating structural supports, begin the mounting process carefully. Accuracy during installation directly impacts long-term safety.
Always follow manufacturer specifications when drilling and securing hardware. Additionally, double-check all measurements before proceeding.
Installation Steps
- Mark mounting hole locations.
- Drill pilot holes carefully.
- Position the mounting bracket.
- Insert anchor hardware.
- Tighten all fasteners evenly.
- Inspect installation stability.
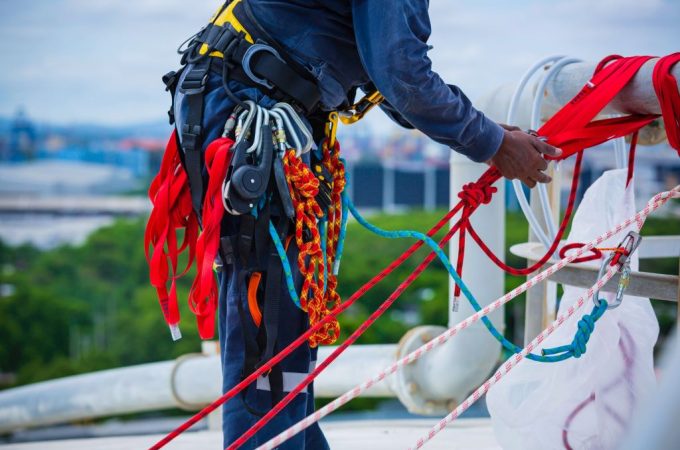
Attach the Gymnastics Rope Properly
Proper rope attachment prevents unwanted movement and premature wear. Therefore, use professional attachment methods whenever possible.
Swivel attachments help reduce rope twisting during climbs. Consequently, climbers experience smoother movement and increased safety.
Recommended Attachment Methods
- Industrial carabiner connection
- Spliced eye attachment
- Heavy duty swivel mount
- Certified climbing hardware systems
Install Safety Flooring Below the Rope
Protective flooring remains essential regardless of climbing height. Falls can occur even during basic training exercises.
Professional gyms use impact-absorbing surfaces extensively. Likewise, home installations should include adequate protection.
Recommended Safety Surfaces
- Gymnastics crash mats
- Rubber gym flooring
- Foam safety tiles
- Commercial landing mats
Perform Weight Testing Before Use
Never use a newly installed rope without testing its load capacity. Initial testing identifies potential installation problems early.
Begin with static weight testing before attempting dynamic movements. Afterwards, gradually increase loading conditions.
Testing Procedure
- Inspect all hardware visually.
- Apply static body weight slowly.
- Check for movement or noise.
- Perform controlled climbing motions.
- Reinspect attachment points.
Common Installation Mistakes to Avoid
Many accidents occur because installers overlook basic safety principles. Therefore, understanding common mistakes improves installation quality.
Professional installers consistently avoid shortcuts during equipment setup. As a result, their installations remain safer and more reliable.
- Mounting into drywall only
- Using undersized hardware
- Ignoring weight ratings
- Skipping safety mats
- Avoiding load testing
- Using worn ropes
Maintenance Tips After Installation
Routine maintenance extends equipment lifespan and improves safety. Consequently, inspections should occur regularly throughout the year.
Environmental conditions affect rope integrity significantly. Therefore, both indoor and outdoor systems require periodic evaluation.
Monthly Inspection Checklist
- Check rope fibers
- Inspect mounting hardware
- Verify bolt tightness
- Examine anchor points
- Replace damaged components
Last Words
Learning how to hang a gymnastics rope for climbing requires careful planning, quality equipment, and strict attention to safety. Proper installation creates a reliable training environment while minimizing unnecessary risks.
If you plan to install a gymnastics climbing rope in your home or facility in the USA, invest in certified hardware and perform routine inspections. Start your installation project carefully, prioritize safety, and build a climbing setup designed for years of effective training.
Frequently Asked Questions
What ceiling height is best for a gymnastics climbing rope?
A ceiling height between 10 and 15 feet provides excellent climbing performance.
Can I attach a climbing rope directly to drywall?
No, climbing ropes must attach to structural supports only.
How much weight should a gymnastics rope support?
A climbing rope system should support at least 500 pounds.
Should I use a swivel attachment?
Yes, swivel attachments reduce twisting and improve climbing safety.
How often should I inspect my climbing rope?
You should inspect your rope and hardware at least once every month.