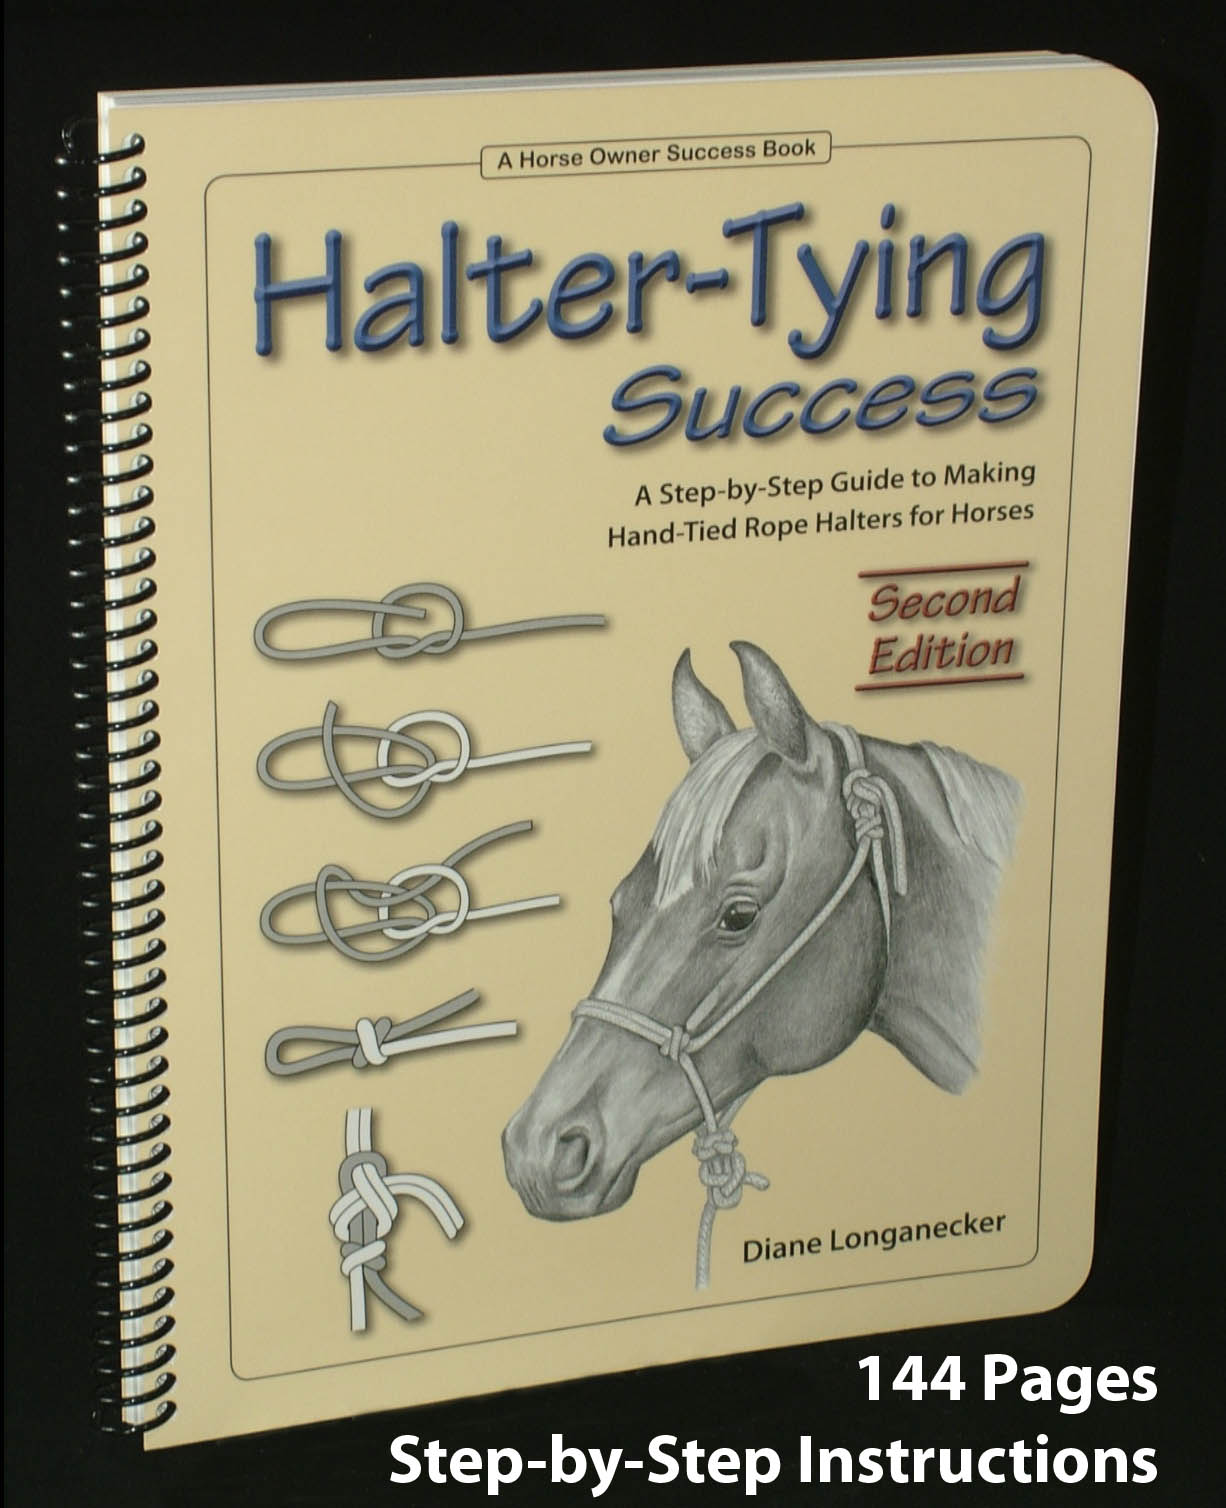
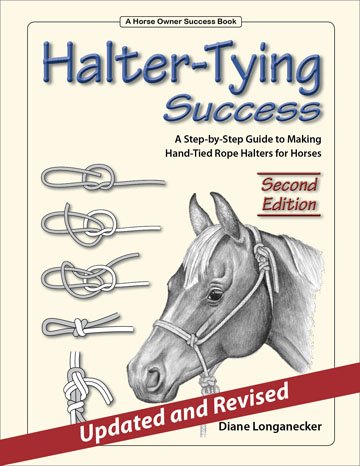
How to Make a Rope Halter: Quick and Easy Step-by-Step Guide
To make a rope halter, you need a length of rope and basic knot tying skills. Simply follow these steps:
Materials And Tools Needed
To make a rope halter, you will need materials such as a sturdy rope and tools like scissors and a measuring tape. These items are essential for creating a functional and durable horse halter.
Making a rope halter is an economical and practical way to create a custom-fit halter for your horse. To get started, you will need to gather the necessary materials and tools. In this section, we will cover the essentials that you’ll need to successfully make a rope halter.Choosing The Right Rope
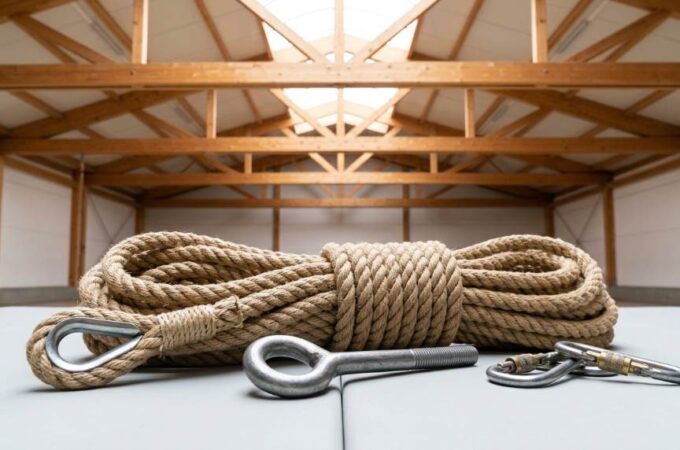
To make a durable and comfortable rope halter, selecting the right rope is crucial. Look for a high-quality, soft, and flexible rope that is safe for your horse. Avoid using rough or abrasive ropes that could cause discomfort or irritation. Opt for a rope with a diameter of approximately 1/4 to 3/8 inches for optimal strength and durability. Nylon or polypropylene ropes are commonly used due to their strength and low stretch characteristics, making them suitable for creating a reliable and long-lasting halter.Additional Materials
In addition to the main rope, there are a few extra materials you may need to complete your rope halter. These include:- A lead rope or a length of rope to create the lead attachment.
- A heat source, such as a lighter or a torch, to seal the cut ends of the rope and prevent fraying.
- A measuring tape or ruler to ensure accurate measurements.
- A sharp pair of scissors or a knife to cut the rope to the required lengths.
Essential Tools
To successfully make a rope halter, you will need a few essential tools. These tools will help you achieve precision and accuracy throughout the process. The following tools are necessary:- A sturdy work surface, such as a table or a workbench, to provide stability during the construction.
- A tape measure or a ruler to ensure precise measurements for the various parts of the rope halter.
- A marker or a pen to mark the rope for cutting and knot placement.
- A pair of pliers to tighten knots securely.

Credit: www.wikihow.com
Step-by-step Guide
Learn how to make a rope halter with this step-by-step guide. Follow the simple instructions to create your own durable and functional halter for your horse.
Step 1: Measuring And Cutting The Rope
Before you can start creating your rope halter, you need to make sure you have the right measurements. Begin by measuring the horse’s head to determine the length of the noseband and cheekpieces. Take the measuring tape and wrap it around the nose where the halter will sit comfortably. Write down this measurement.
For the cheekpieces, measure the distance from the corner of the horse’s mouth up to the point just behind the ears. Next, you’ll need to choose the rope for your halter. A good choice is a high-quality, strong rope with a thickness of around 1/4 inch.
Once you have your measurements and rope ready, use a pair of sharp scissors or a rope cutter to cut the rope to the correct length. Be sure to leave some extra length for tying knots later on.
Step 2: Creating The Noseband
To create the noseband, fold the rope in half and locate the halfway point. This will be the center of your noseband. Take the folded end and form a loop, making sure it is large enough to fit over the horse’s nose comfortably. Then, pass the free ends of the rope through this loop.
You should now have two equal-sized loops on each side of the center loop. Cross these loops over each other, making an X shape. The loop on the bottom should be on the right side, while the loop on the top should be on the left side.
Finally, fold the bottom loop over the top loop, creating a pretzel-like shape. Pull the ends of the rope tightly to secure the noseband shape. Ensure that the noseband is wide enough to fit the horse’s nose comfortably without being too tight.
Step 3: Forming The Throatlatch And Cheekpieces
To create the throatlatch, take the free ends of the rope from the noseband and bring them up towards the back of the horse’s head. Pass them behind the horse’s ears and cross them over each other, creating an X shape behind the ears.
Now, bring the ends of the rope down, crossing them underneath the noseband. These crossed ends will serve as the cheekpieces. Ensure that the cheekpieces are long enough to reach the desired length and tie an additional knot if necessary.
Step 4: Assembling The Halter
Now it’s time to assemble the halter. Take the noseband and position it over the horse’s nose, with the throatlatch and cheekpieces hanging on either side. Adjust the fit as necessary, making sure it is snug but not too tight. The throatlatch should sit just behind the horse’s jawbone, while the cheekpieces should lay flat against the horse’s cheeks.
Once you’re satisfied with the fit, tie off the cheekpieces and throatlatch securely. Make sure the knots are tight and won’t come undone easily. Trim any excess rope, leaving a little length for any necessary adjustments in the future.
And there you have it! You’ve successfully made a rope halter for your horse! Remember to double-check the fit and make any adjustments necessary before using it.
Tips And Tricks
When it comes to making a rope halter, there are a few tips and tricks that can help you create a high-quality halter that fits your horse perfectly. From proper fit and adjustments to decorative variations, this section will guide you through some important aspects to consider.
Proper Fit And Adjustments
A rope halter should fit snugly but comfortably around your horse’s head. Proper fit is important to ensure the halter stays in place and provides effective control. Here are a few tips to achieve the right fit:
- Measure the circumference of your horse’s head, just below the cheekbones and over the nose. This measurement will help you choose the right size of rope.
- Choose a rope that is thick enough to provide adequate strength and durability, but not too thick that it becomes uncomfortable for your horse.
- When tying the halter, make sure it is snug, but not too tight. You should be able to easily slide two fingers under the noseband.
- Adjust the knots and loops of the halter to ensure proper balance and fit. The throatlatch should sit comfortably behind your horse’s ears, while the noseband should be positioned halfway between the nostrils and cheekbones.
- Regularly check the fit of the halter as your horse’s head shape and size may change over time. Make any necessary adjustments to maintain a proper fit.
Decorative Variations To Personalize Your Halter
Your horse’s halter can be more than just a functional piece of equipment. Adding decorative variations can give it a personal touch. Here are some ideas to consider:
- Colorful ropes: Use ropes of different colors to create a vibrant and eye-catching look. Choose colors that match your horse’s coat or your personal style.
- Beads and charms: Thread decorative beads or charms onto the rope for a unique and customized look. Make sure they are securely fastened to avoid any potential hazards.
- Embroidery or braiding: Add embroidery or braided patterns to the noseband or cheek pieces for an intricate and beautiful design. This can be a great way to showcase your creativity.
- Nameplate or tags: Attach a personalized nameplate or identification tag to the halter. This not only adds a stylish element but also ensures your horse’s halter is easily identifiable.
Remember, while personalizing your halter, prioritize safety and comfort. Avoid any decorations that could potentially harm your horse or interfere with the functionality of the halter.
Credit: halfcircleranch.com

Credit: www.amazon.com
Frequently Asked Questions On How To Make A Rope Halter
How Do You Make A Rope Halter?
To make a rope halter, start by measuring and cutting the rope to the desired length. Then, tie a series of knots to create the basic structure of the halter. Attach a lead rope and adjust the fit as needed.
Detailed instructions and diagrams can be found in our blog post.
What Kind Of Rope Is Best For Making A Halter?
The best rope for making a halter is usually a stiff, yet pliable, synthetic material such as nylon. This type of rope is strong, durable, and easy to work with. Avoid using natural fibers like cotton or hemp, as they may stretch or fray over time.
Check out our blog post for more recommendations.
Can I Customize The Size Of The Rope Halter?
Yes, you can customize the size of the rope halter to fit your horse’s specific measurements. By adjusting the length of the rope and the placement of the knots, you can create a halter that fits snugly and comfortably. Our blog post provides detailed instructions on how to make these adjustments.
Conclusion
Making a rope halter is a simple yet useful skill for horse owners and enthusiasts. By following the steps outlined in this guide, you can create a custom halter that fits your horse perfectly. With a little practice, you’ll be able to make halters for all your equine companions.
So why not give it a try and enjoy the satisfaction of creating something functional and unique for your horse? Happy halter-making!