How to tie a hondo in a rope
If you’re looking for a simple, but elegant knot that’s easy to use and looks great, then look no further than the hondo in a rope. This is an easy way to tie up your items and make them look good at the same time!
How to tie a hondo in a rope?
1. Make a double loop in the rope.
2. Pass the end of the rope through the loop.
3. Pull the end of the rope to tighten the loop.
4. Wrap the end of the rope around the standing part of the rope.
5. Pass the end of the rope through the loop again.
6. Pull the end of the rope to tighten the hondo.
Start with a single rope
You’ll need a single rope that’s long enough to tie your partner in the hondo, but not so long as to be cumbersome when you’re trying to tie them up. The strength of your rope should be sufficient for its intended use: holding your partner securely while they are bound. As with most things in life, what works best is often a happy medium between extremes. It shouldn’t be too thick; otherwise it will take too long to bind someone with it and could cause discomfort if used too tightly on their skin. It also shouldn’t be too thin; this might mean that your partner could break free if he/she struggles against his bonds (and nobody wants that).
It’s important to keep these variables in mind as you shop around for an appropriate length and thickness of rope.
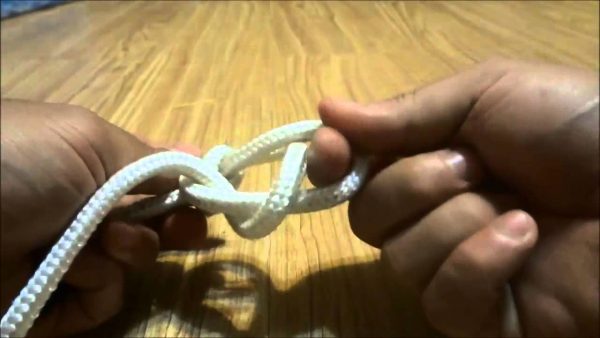
Loop the rope over
To begin, hold the rope in your right hand and wrap it around your left hand. Then, flip the rope over and loop it over again so that there are two loops on the right side. The last step is to make sure that each loop is not twisted and that they are not too tight or too loose. If you want, try out different combinations of these steps with different ropes until you find one that works for you!
Pull the loop over
Pull the loop over. You are going to pull the rope through the loop you just made. Again, do this several times until you have formed a bight (loose section of rope) that is about one-third as long as your main rappelling line.
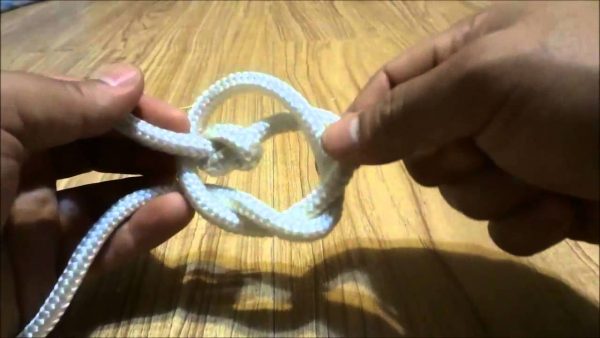
Making a second loop
To make a second loop, you’ll first need to make a loop with your rope. Once this is done, place it over the first one and pull it through. Finally, pull it tight so that both sets of loops are even and snug against each other.
While this may seem like an overly simple step, there can be some finagling involved if you have multiple sets of loops that have different diameters or configurations (such as when tying a hondo with two long ropes).
Pull the second loop over
To begin, tie a first loop in the rope with a bight or overhand knot. The second loop you form needs to be pulled up and over the first loop.
This creates a figure-eight loop. You can then continue to create more loops by repeating the process.
Taking the loop down
Now that you’ve made a hondo, it’s time to take the loop down.
The first way to do this is with a simple pull. With your hand in the center of the hondo, grab hold of one end of the rope and pull it through until your hand exits out at the other side of your knot.
If you follow these steps, you’ll end up with your hondo in a rope.
Conclusion
We hope you enjoyed this tutorial on how to tie a hondo in a rope. Now you can go ahead and impress your friends with your new skills!