How to splice polypropylene rope?
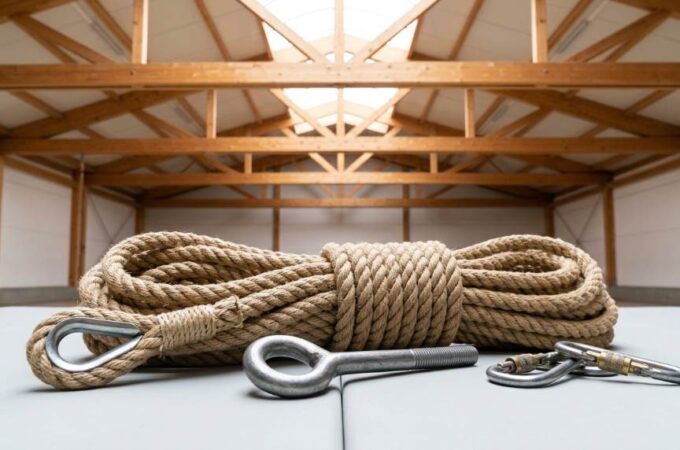
Polypropylene rope is a common material for rigging, construction, marine uses and more. It’s an extremely strong material that can withstand a lot of punishment, but it does have its limitations. For instance, it degrades over time when exposed to UV light (the sun’s rays), as well as when it comes into contact with oils and chemicals. One way to extend the life of your polypropylene rope is to splice it together with another piece of rope or cord by using special techniques that will lock in place during use. This article will tell you exactly how to do this!
How to splice polypropylene rope?
Here are the steps to splicing polypropylene rope:

Cut the rope
Use a sharp knife or scissors to cut the rope. Cut it at an angle to avoid fraying, and make sure you don’t cut off more than 6 inches from the end.
Mark the proper distance from one end of the loop
This is a crucial step and warrants a little more attention. Take a look at your rope, and notice that it has different thicknesses. When you mark the line, make sure you’re marking at an even place in order to create consistent loops throughout your splice.
To get started, use a marker or pen to mark the rope where you’d like for it to stop (the “end”). You may want to do this with some sort of measuring device like a ruler or tape measurer if you have one handy—but if not, don’t worry! Just eyeball it based on how much space there is between all those thicknesses we talked about earlier; this will give us our starting point. Next up: marking where we want our next piece of rope (the “loop”) so they meet up evenly when we rejoin them later on!
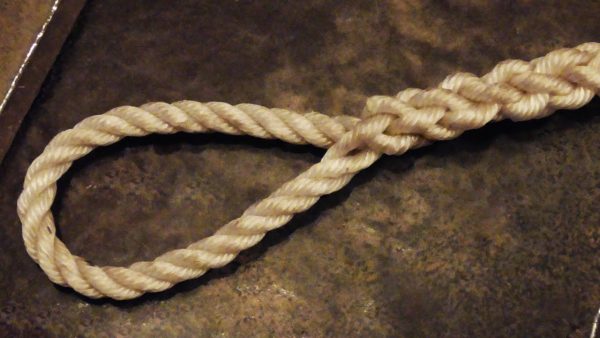
Separate the three strands of the rope
Separate the three strands of the rope for about 4 – 6 inches or so. The number of inches will depend on how long you want your splice to be, but it should be a minimum of four inches to accommodate one knot and two half hitches. The separation should be even throughout, with each strand separated by an equal amount from their neighboring strands.
Tuck both ends of the rope
- Tuck the ends of your rope into the strands of the rope, right where it is starting to fray.
- Pull one end through a loop in the other end, creating a basic noose knot. Repeat on other side.
Trim any excess rope
Trim any excess rope with a sharp knife. Make sure to leave enough rope to tie a knot, and be sure that the ends are even so that they can be melted together. You can use a lighter, candle or other flame source to melt the ends together using this technique:
Now you can splice polypropylene rope!
Polypropylene rope is a great material for use in many applications, from marine to construction work. But one of the downsides of this type of rope is that it’s difficult to splice together if it breaks or frays. Fortunately, there are ways around this problem. You can splice polypropylene rope with a number of different knots, or even using a special machine called a splicing machine.
Things to consider while splicing polypropylene rope
The first thing to keep in mind is that polypropylene rope is highly flammable. This means you should take care not to expose the material to open flames or sparks during splicing.
Secondly, you’ll need to make sure that both ends of your rope are clean and free of dirt or debris before beginning the process.
Thirdly, you should only use polypropylene rope that has been specifically designed for splicing. It’s not advisable to splice a polypropylene rope with any other type of material because the result will be weaker than if you were to use two separate ropes instead.
Finally, you should be aware that the splicing process will cause some loss of tensile strength. This means that your rope’s load-bearing capacity will be slightly reduced after you’ve finished splicing it.
Conclusion
In this guide, we’ve covered everything you need to know about how to splice polypropylene rope. If you have any questions or comments on the topic, please leave them in the comments section below!